When you have many paragraphs or sections in your Word document, the need to separate them with a simple line becomes inevitable sometimes. Most of the time, it might be a single line that you need. But some other times you might need a double line, or a triple line, or even a dotted line at times. Going through a lot of steps to get this simple task done might not be acceptable for many users. But what if we tell you that you can insert the line of your choice with a very simple hack? Are you excited? If so, this article cannot be more perfect for you.
Read on, to learn how you can easily insert single, double, triple, or dotted lines into your Word documents with the help of a super cool hack. Hope you enjoy reading.
Section 1: Insert Single Line Separator
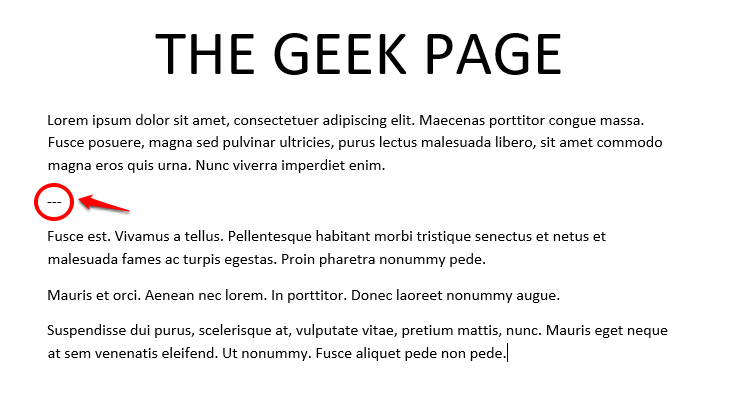
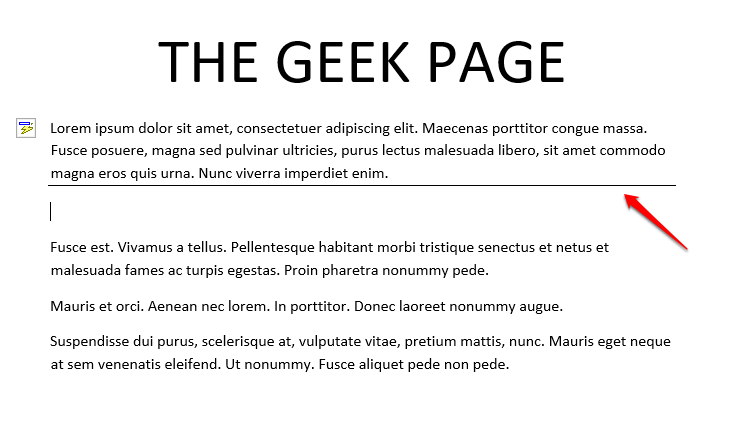
Step 1: To insert a single line separator into your Word document, simply type in 3 hyphens back to back and then hit the Enter key.
---
Step 2: That’s it. The single line separator is now successfully inserted into your document.
Section 2: Insert Double Line Separator
Step 1: To insert a double line separator, the process is just the same as that of inserting a single line separator.
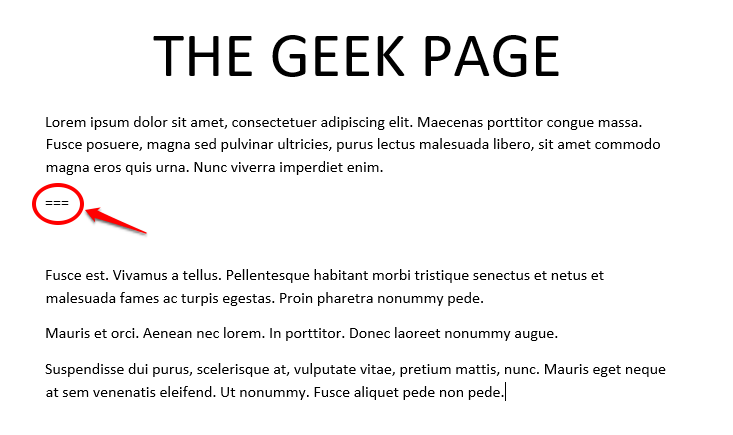
The only difference is that you have to type in 3 equal-to signs instead of hyphens. Hit the Enter key to see the line in action.
===
Step 2: Hope this is exactly what you pictured how your double line separator should be.
Section 3: Insert Triple Line Separator
Step 1: Just as you guessed, inserting a triple line separator also follows the same pattern, the only difference is in the character sequence used.
To insert a triple line separator, simply type in 3 hash signs back to back and hit the Enter key.
###
Step 2: Your triple line separator is now all ready to rock the show.
Section 4: Insert Dotted Line Separator
Step 1: Inserting a dotted line separator into your Word document is also an equally easy process. You just need to type in 3 asterisk signs together and then hit the Enter key.
***
Step 2: Your dotted line is now well inserted. Hope you liked the look of it!
Now that you know how you can easily insert different types of line separators fast and easy in your Microsoft Word documents, you might be wondering how you can delete these line separators. You can read our article How to Insert and Remove Horizontal Lines in Microsoft Word for the same.
Also, if you are not happy with the conventional line separators and would like to go with some artistic line separators or build your own custom lines, you can read our article How to Insert Inbuilt and Customized Horizontal Lines to Word Documents for a quick picture on how to get that done.
Please tell us in the comments section whether you found the article useful. Please do come back for more amazing tricks, tips, and hacks!


