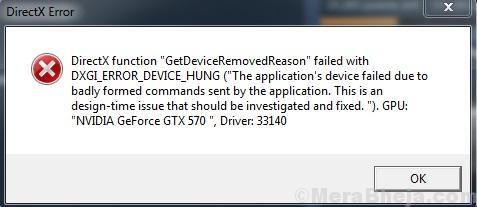
Video games are one of the most interesting applications on Windows PCs. However, the high-end ones with sophisticated graphics are known to face issues. One such known case is with the error:
Cause
This error means the application failed to launch due to a bad command sent by the application to the system, which in turn caused a conflict.
Try the solutions one by one to resolve the problem:
Solution 1] Update Graphic drivers
Since the issue is with the graphics, we could assume that the graphic drivers did not support the functionality. However, with time, as and when new games are launched, companies update the graphic drivers accordingly. We could update the drivers and check if it helps. Here’s the procedure to update the drivers.
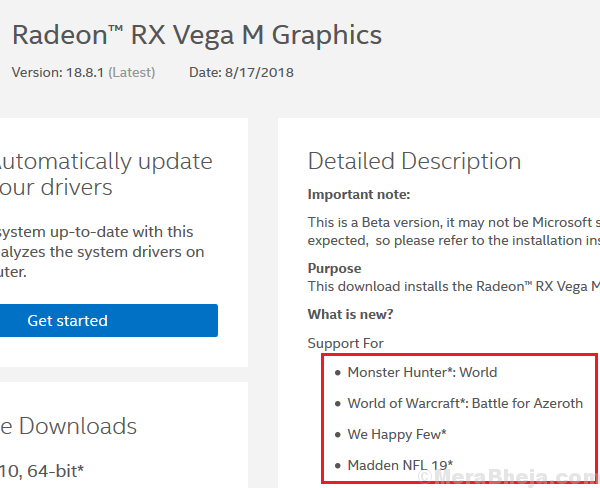
This step is particularly important if you installed a newly launched game. The reason is that is we check Intel’s website, the graphic drivers are updated frequently, most of them only to support games. Rather, if you click on the links to open the page for the graphic drivers, it would show which games they exactly support. Here’s the link to Intel’s download center for graphic drivers.
Solution 2] Do not overclock your system
If you ever overclocked your system, you would know how it is undone. That setting should never be changed. Sometimes through the BiOS, sometimes through the GPU settings, overclocking can both harm the system and still not help with the game.
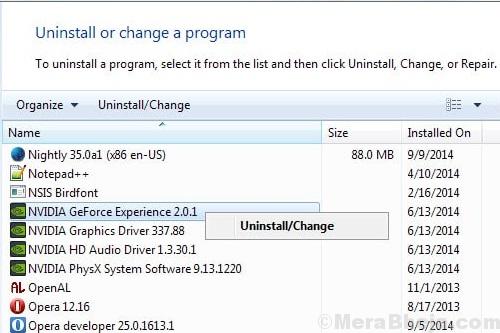
Solution 3] Uninstall GeForce experience
While GeForce experience helps optimize game settings, it is neither necessary nor recommended. Usually, the game’s engine picks up the recommended settings and tries to sync the same with the system.
1] Press Win + R to open the Run window. Type control panel and press Enter to open the Control Panel.
2] Go to Programs and features. It would display the list on programs installed on the system.
3] Find GeForce experience in the list. Right-click and uninstall it.

Solution 4] Disable Steam Cloud Synchronization
Many users have mentioned that disabling the Steam Cloud Synchronization would be helpful in resolving the issue.
1] Open your game’s Steam client.
2] Right-click on the troublesome game and select Properties.
3] Go to the Updates tab and uncheck the checkbox corresponding to Enable Steam Cloud Synchronization.

4] Apply the changes and restart the system.
This fix works especially well for issues with Call of Duty: WWII.
Solution 5] Update Windows
We need to update Windows to the latest build. By latest build, we are referring to the latest cumulative update. Here’s the procedure to update Windows.
At times, simply trying to update Windows through Windows settings might not be sufficient. It would mention that it has updated Windows though it wouldn’t actually help.
In such a case, we could update Windows through administrative Powershell.
1] Right-click on the Start button and select Windows Powershell (Admin).
2] Type cmd in the Powershell window and press Enter. Wait for it to turn into a Command Prompt like window.
3] Type the following command and press Enter:
wuauclt.exe /updatenow
The command would need times to run, sometimes up to an hour. Let it do its job and restart the system.
Hope it helps!

