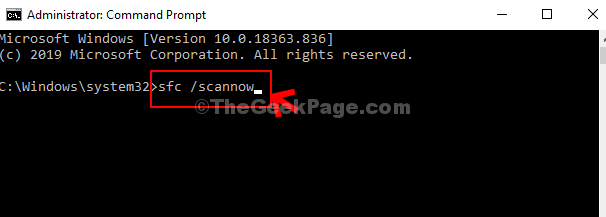
The System File Checker is one of the best ways to find corrupt files in your Windows PC and then fix the registry data. To run the utility, you must run the command, “sfc /scannow” in the Command Prompt/Powershell. It then runs a scan on all protected system files in your Windows 10 PC. It authenticates all the file versions and then subsequently restores the corrupt files.
However, many users have reported experiencing an error that says, “Windows Resource Protection found corrupt files but was unable to fix some of them“. Considering that running sfc /scannow very often is quite important to repair corrupted files and keep the system running smoothly, this error should be fixed with immediate effect. Let’s see how.
Solution: Using Command Prompt
Step 1: Click on the Start button your desktop and type Command Prompt in the search box. Right-click on the result and click on Run as administrator to open Command Prompt in Admin mode.
![]()
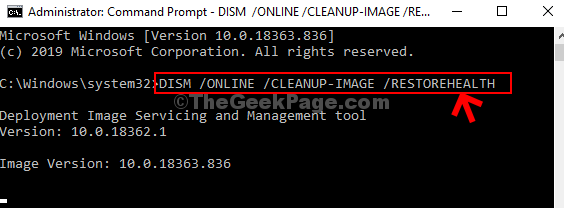
Step 2: Now, run the below command and hit Enter:
DISM /ONLINE /CLEANUP-IMAGE /RESTOREHEALTH

Now, wait patiently as it takes a some time to complete the process. It checks the components that are corrupted, and then subsequently records the corruption and repairs the corrupted file.
Once the process is competed and the corrupted components are fixed, it will display the message “The restore operation completed successfully. The component store corruption was repaired. The operation completed successfully.”
Step 3: As soon as the process is complete and you see the above message, restart your computer and then run the below command again to run the system file checker:
sfc /scannow

Now, wait for it to complete and it should now fix any of your corrupted files perfectly.