Every app you download on your Windows PC or laptop, needs to be updated frequently to the latest version releases. Same is the case with VLC Media Player. If you do not want to lose on its latest features or want it to crash, you would need to update it on a regular basis.
The VLC Media Player updates are released by the VideoLAN project that also offers bug fixes, and introduces security changes, apart from latest features. While it automatically informs you of any latest updates as you launch it, the updates don’t get installed automatically. Which means, you would need to check the updates on your own and even install them for uninterrupted and enhanced experience.
Let’s see how to update VLC Media Player to the latest version easily.
Solution: Using The Help Option
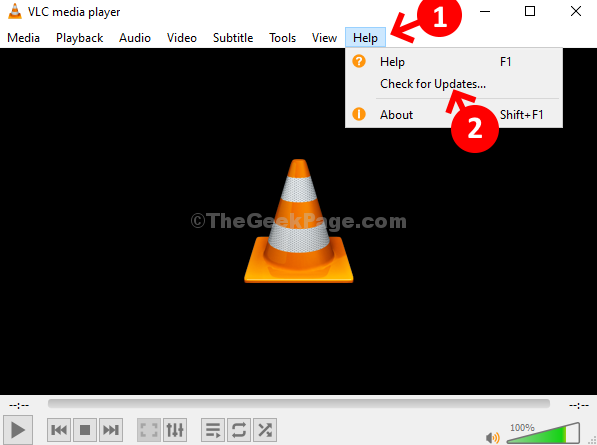
Step 1: Open VLC Media Player, click on the Help option on the top of the window and select Check for Updates.

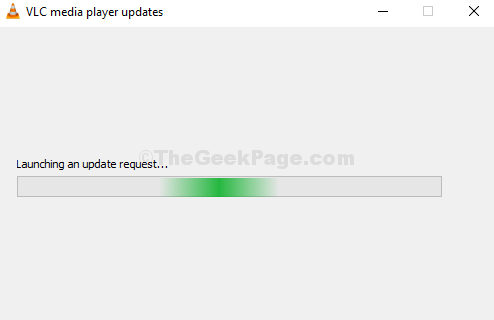
Step 2: It will now check for any available updates. Wait for it to complete.

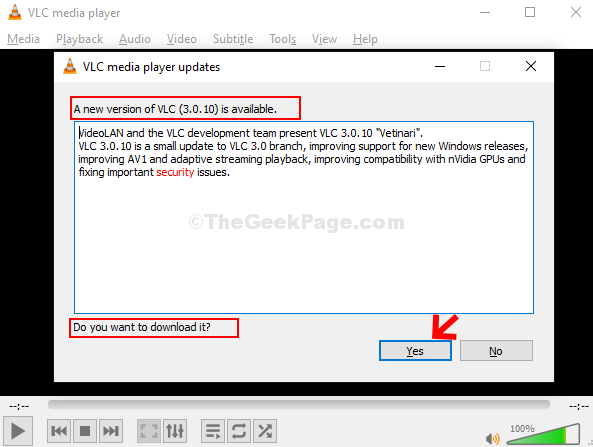
Step 3: If any updates available, it will show a dialog box saying – A new version of VLC (3.0.10) is available. In the same dialog box, it asks you – Do you want to download it? Click on Yes to proceed with the download.

Step 4: Wait for the download to complete.

Step 5: In the next prompt, click on the Install button to proceed with the installation.

Step 6: In the VLC Media Player Setup wizard that appears, click on Next.

Step 7: In the next window, check on Upgrade VLC using previous settings (recommended) and press the Next button.

Step 8: Wait for the installation to complete.

Step 9: The VLC Media Player installation is now complete. Click on the Finish button.

Step 10: The VLC Media Player restarts and you can now go to Help and click on About to check the latest version.

You are done. It’s now updated to the latest version – 3.0.10 Vetinari.