Registry Editor is an administrative tool that system administrators to modify the registry values, keys at their will. But, without sufficient permission, you can’t just go and edit/delete a registry key on your own! If you try to do that, you will encounter an error message. You need to take full ownership of such a key before you can modify it.
NOTE –
You should not alter the ownership of a key without any prior knowledge. The system reserves permission to protect the integrity of the device. So, use the discussed method to the keys you are sure about.
How to take full ownership of a registry key in Windows 11, 10
You can easily take full ownership of a registry key.
Step 1 – Change the ownership
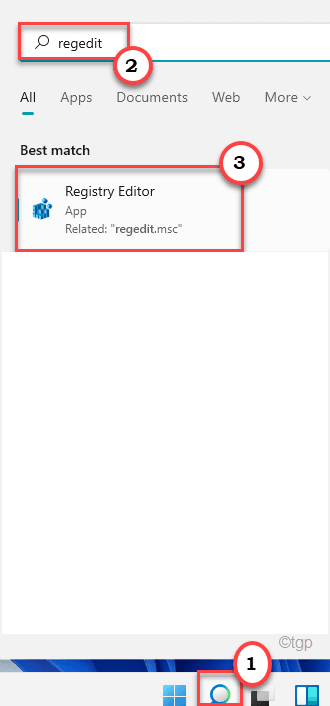
1. At first, click on the Windows key and write “regedit“.
2. Then, tap on “Registry Editor” from the search results.

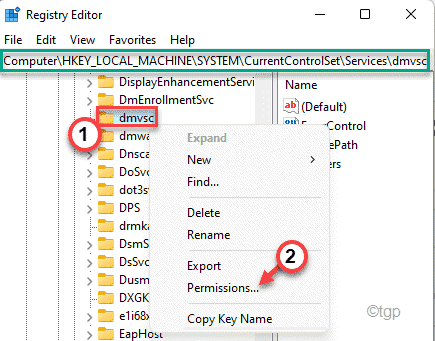
3. In the Registry Editor, go to the location of the key.
4. Then, right-click on the key and click on the “Permissions…“.

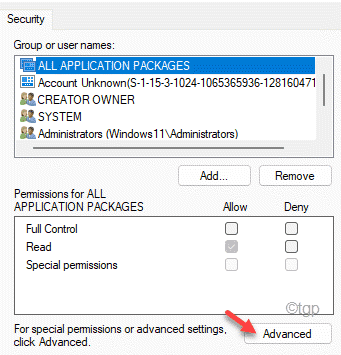
5. Now, tap on the “Advanced” to modify it.

6. Then, click on “Change” beside the ‘Owner‘ option.

7. Now, click on the “Advanced” option.

8. Here click on “Find Now” to see the full list of user groups.
9. From this list of user groups, select your account name. (In this computer, it is ‘sambit koley‘.)
10. After that, click on “OK” to select it.

11. To save, tap on “OK“.

Now, you own this particular key.
12. Now, check the “Replace owner on subcontainers and objects” box.
13. Do not forget to click on “Apply” and “OK” to save the changes.

Step 2 – Take full control of the key
After you have owned the key, you can now take full control of the key.
1. In the Advanced Settings window, tap on “Add“.

2. Now, click on “Select a principal“.

3. Then, click on the “Advanced” option.

4. Here click on “Find Now” to see the full list of user groups.
5. From this list of user groups, select your account name. (In this computer, it is ‘sambit koley‘.)
6. After that, click on “OK” to select it.

7. To save, tap on “OK“.

8. Next, check the “Full Control“.
9. Finally, click on “Apply” and “OK” to save the settings.

That’s it! Now, you have successfully owned the key and taken full control over the key.