Quick Access Toolbar is set of icons which is customizable according to the set of commands frequently used by the user or by some application. By Default settings, Quick Access Toolbar has only two commands such as Properties and New Folder checked. User can customize the Quick Access Toolbar which gives you easy and faster access.
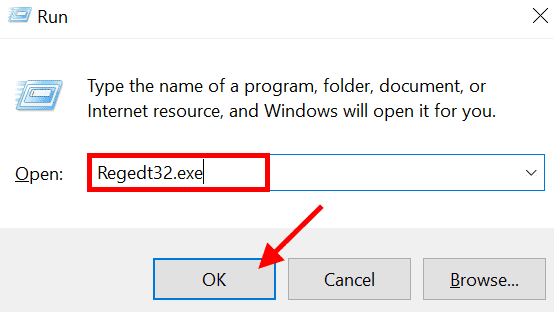
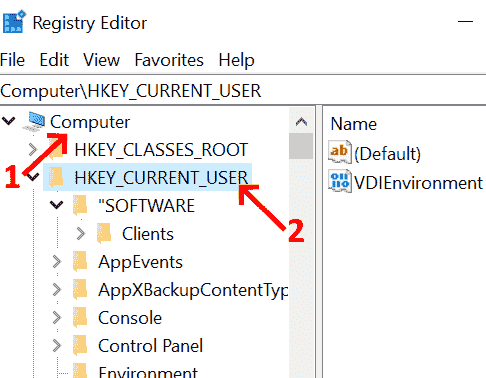
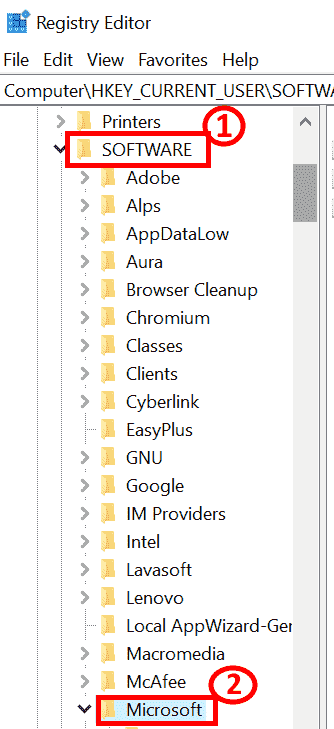
How to Reset File Explorer QAT


How to Add or Remove items from QAT
Step 1: Open File Explorer by typing FILE EXPLORER in the search space which is in the left side corner.

Step 2: Double Click to open the File Explorer.

Step 3: Once File Explorer Screen is opened, Quick Access Toolbar looks as highlighted below.

Step 4: Drag the down arrow in the top-left corner to customize the QAT as per the requirement.

Step 5: Check the button as per the user requirement. Commands such as Undo, Redo, Delete, Properties, New Folder, Rename, show below the ribbon and minimize the ribbon are available in the Customize Quick Access Toolbar.

Step 6: Right-click any button from the ribbon menu and select the Add to Quick Access toolbar option.

In this below example, delete button is added to the QAT.

Step 7: The Delete Option which is added can be deleted by a right-click and select Remove from Quick Access Toolbar.

Step 8: If you want to move the toolbar above or below the ribbon, you can select the option by right clicking the toolbar. Now, the QAT is below the ribbon.
