It’s because of DNS servers that we, humans, do not have to memorize IP addresses like 8.8.8.8(Google). A DNS server translates human friendly domain names to unique IP addresses that are used to identify each device connected to the Internet. So, when you have issues with your computer not connecting to the Internet properly or if your computer is having difficulty finding websites, then you can try resetting your DNS settings to resolve the issue as the DNS cache on the local server may be corrupted.
Also Read: How to Change DNS settings in Windows
Method 1: From Command Prompt
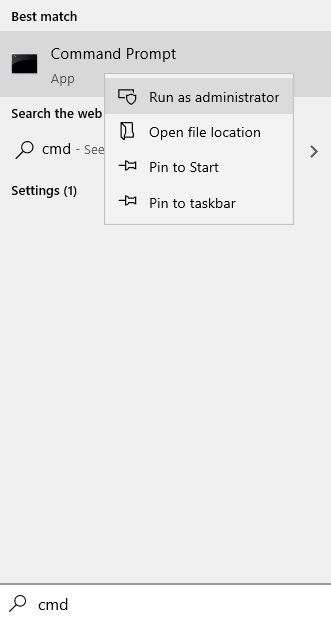
1 – Search cmd in windows search box.
2 – Now, right click on the command prompt icon and click run as administrator.

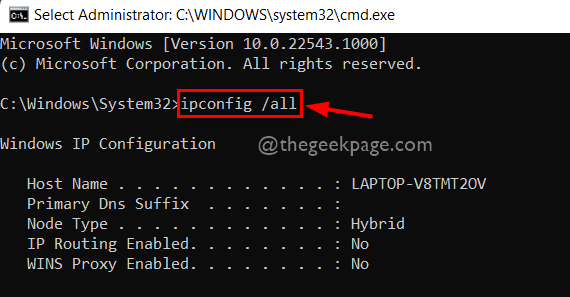
3 – Now, copy paste the commands given below one by one and hit enter key every time to execute it.
ipconfig /flushdns
ipconfig /registerdns
ipconfig /release
ipconfig /renew
netsh winsock reset

Restart your computer.
How To Reset DNS Settings in Windows 11 or Windows 10
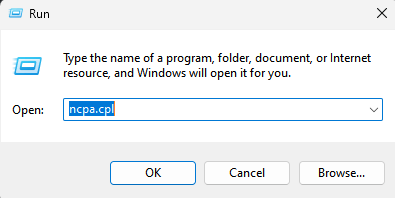
1: Press Windows key + R from the keyboard to open the Run command.
2: In the Run command search box, type ncpa.cpl and press OK to open the Network connections window.

3. Now, right click on the network adapter with which you are connected to internet and whose dns settings you are trying to reset.
4. Click on properties.

5. Now, Double click on Internet protocol version 4 (Tcp IpV4).

6. Now, Select Obtain DNS server automatically.
7. Click on OK and close the window.

How To Reset DNS Cache in Windows 10 & Windows 11
Method 1: Straight From Run Window
1. Press WIN+R keys together to bring up the Run window. When it opens up, simply type in ipconfig /flushdns and then hit Enter key.
2. A command window will flash on the screen just for a second and the DNS resolver cache will be cleared.
Method 3: From Windows PowerShell
1. Open Windows PowerShell. For that, either use Start menu search or use Run window. To open PowerShell from Run window, press WIN+R keys together. When Run window opens up, type in powershell and hit Enter key.
2. Once Windows PowerShell opens up, type in Clear-DnsClientCache and hit Enter key. Wait for 2 seconds, your DNS settings are now flushed.
When you flush your DNS, all your DNS settings will be cleared and the next time you try to access Internet, new DNS entries will be created. If the above methods do not work for you, you can try rebooting your router as routers also can have DNS cache stored in them. Rebooting the router will clear the DNS entries temporarily stored in router’s cache memory.