Image content in a file can change the size of the document considerably. If there are too many pictures in a document, it is likely to have a significant size. Due to this reason, in MS Office, the images are compressed by default. They are compressed to 220 ppi. You have options to reduce them down further to 150 ppi or 96 ppi. This is useful in PowerPoint documents as they are likely to have many pictures. Also for large files, compression saves a lot of storage space. For sending as Email attachments and while downloading, smaller size files are desirable. So even if the quality of the image is compromised a little bit, there won’t be any delay to load the images. But if your whole document contains few images, it’s ok for them to be of high resolution. Since by default the images are compressed in Office, you’ll have to change the quality manually. Follow the steps below for preventing such compressed images.
How to prevent images from Automatic Compression in MS Office
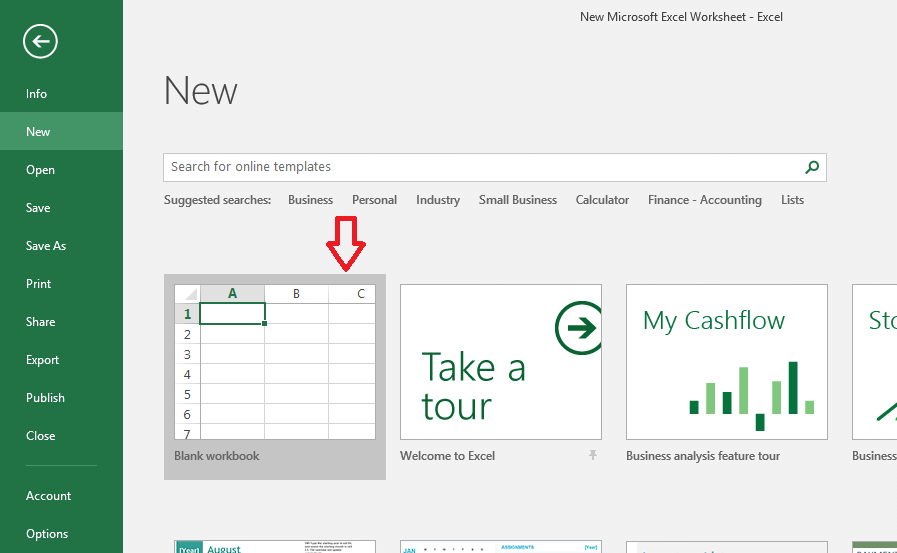
Open the MS Office file that you like. Here, the example will be shown with an Excel worksheet.
- Click on New followed by Blank Document.
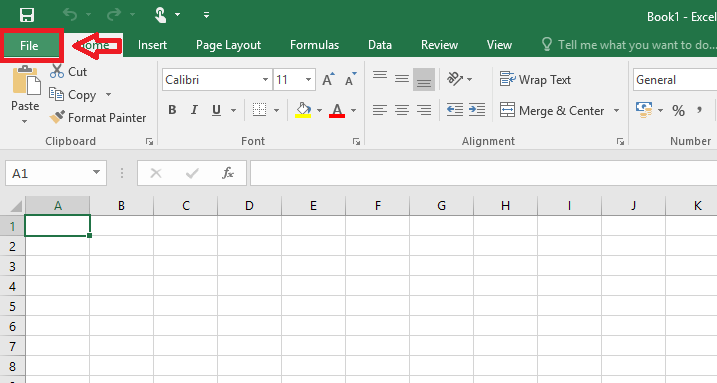
- Once the document is opened, click on File at the top-right corner.
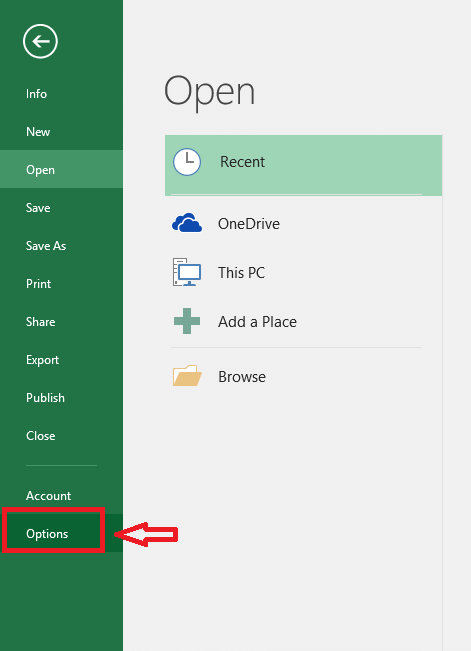
- Then, click Options.
- Further, click on Advanced.
- Scroll down to spot Image size and quality. Mark the box corresponding to Do Not Compress Images in Files.
That’s it! The images would no longer be compressed.
Remember that the same procedure can be used for any MS Office file. The steps are the same. Once it’s done, the changes will be reflected on every image present in the file. There are options for compressing a specific image too if you wish to do so. Depending upon the size and quality constraints of the file, decide whether to compress or decompress. Hope this helps!


