Some users have been facing this issue off-late where they cannot connect to the internet and rather, see and error message, “msftconnecttest.com/redirect. Application not found“. This can be frustrating specially if you are about to start your day for work or have something important to read, watch or download.
The possible causes that lead to this error can be, the failure in connection test that an application performs whenever it tries to connect to the internet on Windows. The Internet Connection Issue: “Msftconnecttest Redirect” Error on Windows 10 can also arise when the default app has not been selected for the HTTP/HTTPS protocol.
However, the good news is, we have found a couple of solutions that can help you get rid of this error and connect you to the internet. Let’s see how.
Workarounds:-
- Go to the homepage of the website you are visiting and then again go to the url. This sometime fixes the issue.
- Close all the browser and try a different browser
Method 1 – Reset Network
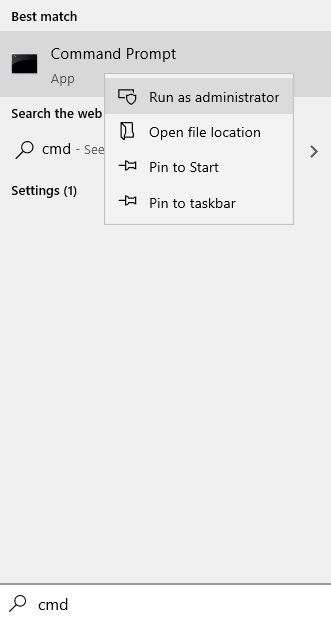
1 – Search cmd in windows search box and then right click and click on run as admin.

2 -Now, run the command given below
NETSH WINSOCK RESET
3 -Now, close the cmd window and try again.
Method 2: By Making Some Registry Changes
Before you make any changes to the Registry Editor, make sure that you create a backup of the registry data so that, in case of data loss you can get it restored.
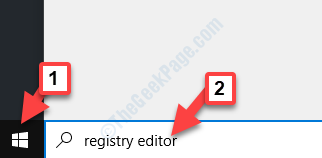
Step 1: Go to Start and type Registry Editor in the search field.

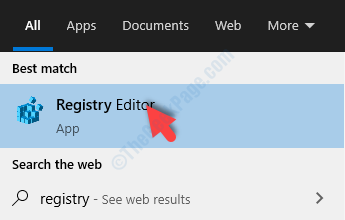
Step 2: Left-click on the result to open the Registry Editor window.

Step 3: In the Registry Editor window, navigate to the below path:
HKEY_LOCAL_MACHINE\SYSTEM\CurrentControlSet\Services\NlaSvc\Parameters\Internet
Now, go to the right side of the pane and locate EnableActiveProbing.

Step 4: Double-click on EnableActiveProbing to open the Edit DWORD (32-bit) Value dialogue box. Go to Value Data and set the field to 0.
Press OK to save the changes and exit.

Now, restart your PC and try connecting to internet. If it still does not work, follow the 2nd method.
Method 3: By Selecting a Default Browser for Protocols
Case 1 – For Windows 10 Users
Step 1: Press Win + X keys together on your keyboard and then select Settings from the menu.

Step 2: In the Settings window, click on Apps.

Step 3: In the Apps window, click on Default apps on the left. Then go to the right side, scroll down and click on Choose default applications by protocol.

Step 4: Next, scroll down to locate HTTP, click on the drop-down next to it and select a default browser of your choice.

Step 5: Then, go to HTTPS and select the default browser for it from the drop-down next to it.

Now, restart your PC and you should now be able to connect to the internet without seeing the error.
Case 2 – For Windows 11 Users
1- press Windows key + R key together to open run.
2 -Now, write ms-settings:defaultapps in it and click OK.

3 – Now, Search https in set a default apps section and click on the search result.

4 – Now, select a different browser from the list. For example , If it is edge set it to chrome
5 -Click OK.

Now, again Search http in set a default apps section and click on the search result. Repeat the same procedure
Try again.