Many of us prefer using mail apps on our Windows 10 PC instead of logging through web. While it’s pretty handy to use the apps, you may come across this error code – 0x8000000b when you are try to send an email. So, when you press the Send button, your email tries to connect to the email server automatically for the server settings, but then the error pops up.
This error mainly arises due to syncing problem. Whether you prefer using a Gmail app or Yahoo Mail app, you will have to set them up first in the Window 10 email app. And, then during the configuration, you may come across this error code – 0x8000000b.
But, fortunately, you can fix this error. Let’s see how.
Solution: Using The Mail App
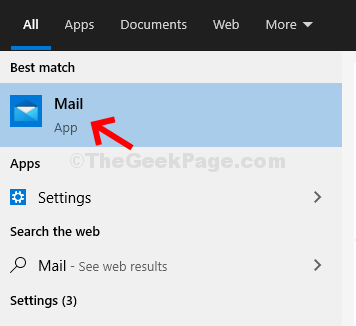
Step 1: Click on the Start button on your desktop and type Mail in the search box. Click on the result to open Windows 10 Mail app.

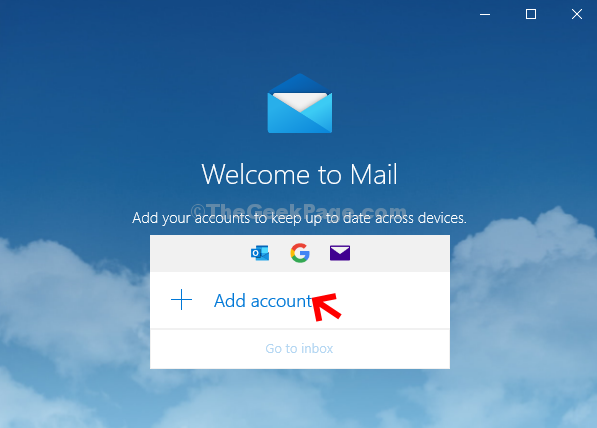
Step 2: In the Mail app, click on the Add account option.

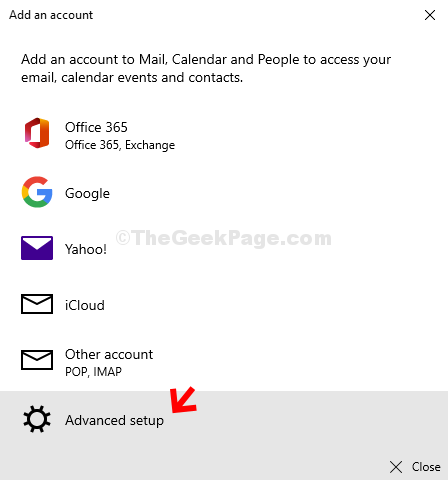
Step 3: In the Add an account window, scroll down and select Advanced setup.

Step 4: Next, under Advanced setup, select the Internet email option.

Step 5: Under Internet email account, enter the below details one by one:
- Enter your email address for the account which you want to add (here we added our gmail account – [email protected]).
- Write your Gmail Username (we named it wearewriters).
- Write your Gmail password.
- Create an Account name. It can be anything. We set it as Gmail.

Step 6: Continue with the below steps for Internet email account one by one:
- Keep the Send your message using this name field same as the Account name.
- In the Incoming email server, enter imap.gmail.com.
- Choose Account type as IMAP4 from the drop-down.
- Set the Outgoing (SMTP) email server field as smtp.gmail.com:465.

Step 7: Now, keep all the four options checked at the bottom as it is, and click on Sign in.

That’s it. Once you sign in this way, the error should not pop up anymore.