The launch of Windows 10 by Microsoft has created quite a stir off-late. While the Windows squad sweated it out to create a state-of-the-art version for the desktop users, it more looks like a renewed Windows 7 to many who had been cooling their heels till now for the update. So when we tested our hands on the Windows 10 we were surprised to find that that many of the features of the desktop version are similar to the one offered in their mobile version by the OS.
Storage Sense is one such brand new function being offered in both their mobile devices and the desktops. What is notable here is that Windows did not support the personal file redirection feature in its previous versions, specifically at the time when you needed to run a repair install or upgrade to the future Windows updates.
However, the Windows 10 Storage Sense offers more flexibility that allows the users to redirect personal files to different drives. This is undoubtedly a refreshing feature that was much needed, however, there is more that Storage Sense has to offer and which is something we will discuss in this blog today.
How to Access Storage Sense on Windows 10?
To experience some really notable features of Storage Sense let’s uncover the correct procedure to utilize the functionality.
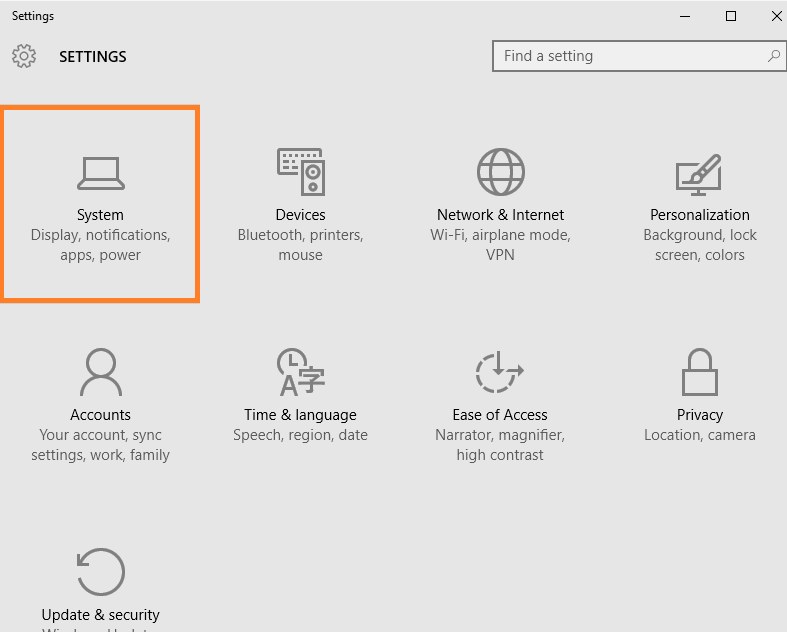
Open the “Settings” option (Press Windows Key + i ) and then click on “System”.
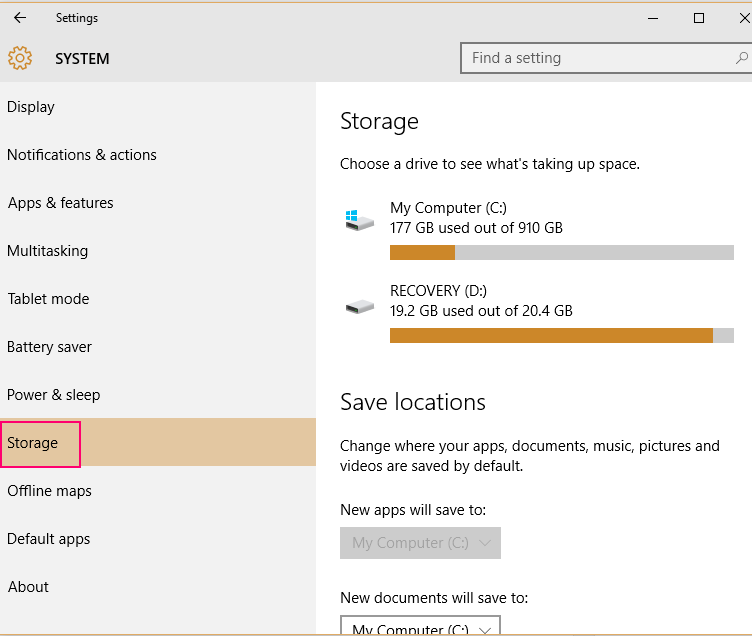
Now spot the “Storage” option in the left list and click on it.

You can also reach the desired destination through the shortcut keys on the keyboard, that is, Windows key + Q and write “storage sense” and press the “Enter” button.
Find “Drives” & “Save Locations”
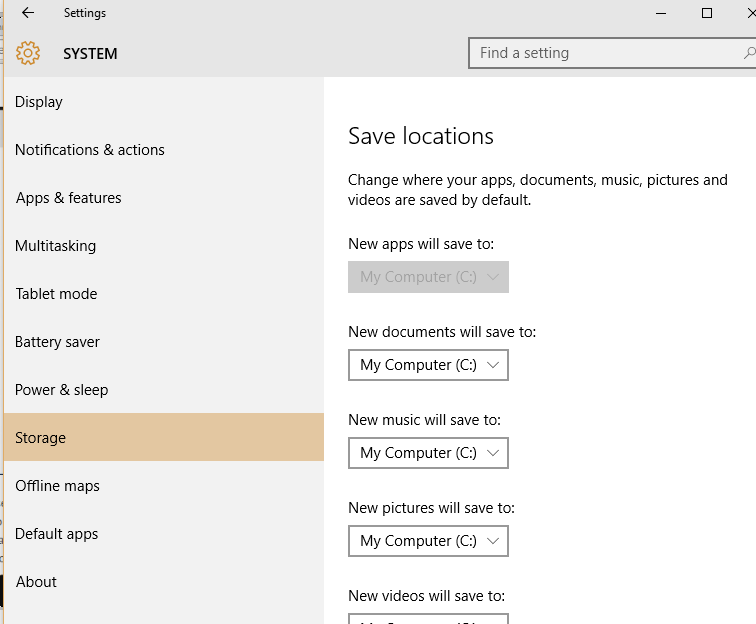
So once the “Storage” section is open you can see that there is not much in the UI. However, it nicely lists all the drives in it such as, flash drives, internal drives and more. You can also find the option of “Save Locations” which allows you to change the default locations of your documents, videos, music, apps or pictures to be saved.

Experience the power of “Storage Sense”
Now click on the drive where your Windows 10 is installed (“Systems” drive) where you can see how much space is utilized by your personal data with the help of Storage Sense.

To make life easier for you, each data type is categorized with different colors. This helps you to identify your target data much faster. However, for some it may not calculate the storage data for all the personal folders correctly and may end up showing Zero Bytes. Though we are not really sure if the Windows team is acquainted with this error and plans to fix it soon!
Clicking on any one of the data type will further open up a detailed list of contents in it.

The Storage Sense works perfect for the Videos file as it opens up elaborated details of the contents in it. The Storage Sense proves its competency with even finding out those videos for you that have been saved at the heart of the drive, and which are stored even in locations apart from the regular Video personal folder. However, you will not find much detail under other shell folders like, Documents, Music and Pictures.
What’s with the Apps & Games?

On the other hand, the other categories like, Apps and Games will lead you to the App Library which will allow you to manage your applications easily. By managing apps we mean you can uninstall apps or even move them to other locations according to your convenience. Moving apps feature was already made available in the initial previews of Windows 10 and will be potentially available on even the Windows 8.1, however is yet to be featured on the Personal Computers.
Move your data with “Save Locations”
So as we all know by now, redirecting Personal folders is officially supported by Windows 10. Even though this feature by the latest version of Windows is just an ornate way of saving your data to other drives apart from the default location, this is an instant hit considering its innovativeness.
This functionality is especially suitable for those configurations where there is a considerably bigger machine-like hard disk along with a small sized SSD installed in the PC. So in order to create a new default location for the saved documents, you can simply click on the list under the “Save Locations” and select a drive of your choice to save the documents. This is all that you need to do in order to change the default storage location of your documents with the help of “Storage Sense”.
Read also: How To Change Default Installation Folder Of Windows 10 Apps

Many of the users who have recently upgraded to Windows 10 may not be impressed with the “Storage Sense” functionality at first, however, considering that you never had a feature in the previous versions which could help you arrange your personal files and control your data in such an effortless way, this is definitely a boon for all.
What is striking here is the opportunity to get a detailed overview of the storage status of your personal data and the ease with which you can manage it. All that you need is a swift move of your hands to manage your personal data now!
Snapshot of the Process
- Open “Settings” – Click “System” – Spot “Storage” option OR press Windows key + Q, type in “storage sense” and press the “Enter” button.
- Find the list of SD cards, flash drives, internal drives under “Storage” and also “Save Locations”.
“Save Locations” allow you to change the default location of your Documents, Music, Pictures and Videos to be saved. - Open up the System Drive where Windows 10 is located.
- Storage Sense will automatically calculate the storage space taken up by the personal data.
- Clicking on any of the listed category will open up a detailed analysis of the contents.
- The Videos folder is especially bifurcated compared to Music, Pictures or Documents.
- Apps and Games allow easy management of apps through App Library, for example moving or uninstalling apps.
- Change the default location of your data to be saved by clicking on the list under “Saved Locations” and now select the desired drive for your data to be saved.
