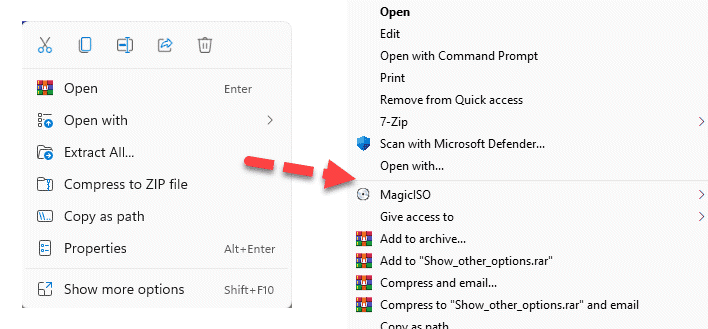
Windows 11 has altered some of the critical features of the legacy OS. One of the most significant transformations is the new context menu. It is shortened by half, removing all unnecessary shell handles, and refining it to an extent. But many users have hated this new context menu, as every time you have to click on that “Show more options” to get the complete context menu. If you are also in that group of users, yes, you can easily get the old context menu back.
How to remove show more options entry from the right-click context menu?
You can easily go back to your old right-click context menu. There are several methods to do so. Just follow the method that you prefer.
Way 1 – Using a script file
You just have to download a particular file.
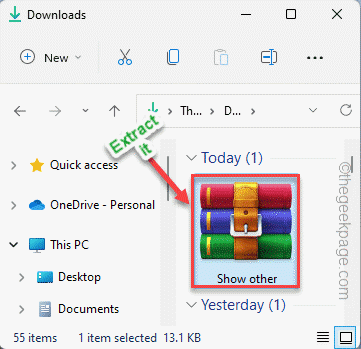
1. Just download the Show other file on your system.
2. Once you have downloaded the file, extract it somewhere on your system.
3. Now, go to the location where you have extracted the file.
4. You will find the “Show_other_options” script file in the directory.
5. Just, double-click on the file to remove the show more options file from your system.
6. Now, just tap “Yes” to confirm the process.
Now, you will see a prompt has appeared like “Show More Options entry has been removed“. Just tap “OK” to proceed.
How to get the show more options back again?
If you ever need to go back to the show for more options, just do this –
1. Go to the extraction location once more.
2. Then, just double-tap the “Show_other_options” script file to proceed.
3. Once it is done, you will see this message has appeared “Show More Options entry has been Added“. Just, tap “OK” to close it.
This will get back the script file on your system.
Way 2 – Using the Registry Editor
If don’t want to run a script file and want to take things into your own hand, this method is just for you.
1. Just, press the Windows key+R keys together.
2. Then, just write down this word in the box and tap “OK” to open the Registry Editor.
regedit
Warning – You will be adding certain keys and editing some keys in the Registry Editor. It normally just works out well, but in some cases, it may lead to bigger issues. So, to be on the safer side, you should create a new registry backup.
a. After opening the editor, click on the first option on the menu bar “File“.
b. Later, tap “Export” to make a new registry backup.

You should save this backup in a location that you can access at the time of urgency.
3. Once you are done all with that, just go here –
Computer\HKEY_CURRENT_USER\Software\Classes\CLSID
{86ca1aa0-34aa-4e8b-a509-50c905bae2a2}6. After that, right-click on the new key and tap “New>“, and click “Key” to create a new key.
8. Once you have renamed it, select the key.
Once you have done all this, close the Registry Editor. But, you won’t witness the changes so quickly.
To get there, restart your system. After restarting the system, you will see your old right-hand context menu in Windows 11.
How to get the new Show More Options context menu back
Computer\HKEY_CURRENT_USER\Software\Classes\CLSID
Once you have removed the key, just close all the windows you have opened and reboot the system.

