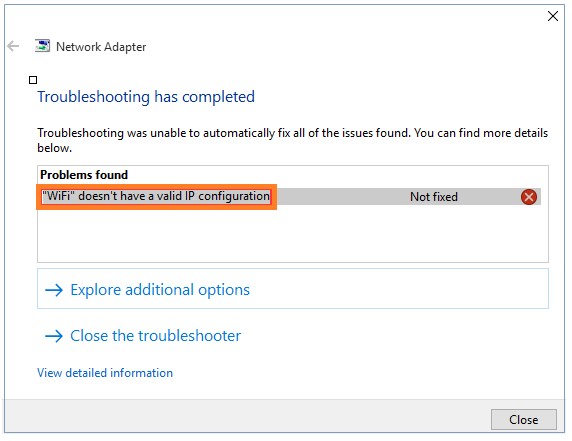
In general, troubleshooting helps in finding the issues but the issues should be fixed manually. Here our issue was “Wi-Fi doesn’t have a valid IP configuration “. Now we shall see how to fix this issue on windows 10.There are many things which cause the problem like incorrect network settings, faulty network drivers. There are working solutions to solve this issue.
Fix 1 – Reset TCP/IP
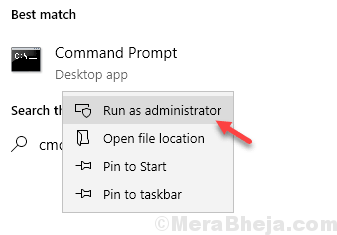
1. Search cmd in Windows 10 taskbar search Box.
2. Right click on the cmd icon and choose run as administrator.

3. In command prompt window, Just copy and paste the command given below and hit enter key to execute the program.
netsh winsock reset
4. Now, Copy and paste the command given below and execute it also.
netsh int ip reset
Now, Close the command window and Restart your PC.
If it does not solve your problem yet, Open command prompt as admin again.
and Run the command given below One By One.
ipconfig /release

ipconfig /flushdns

ipconfig /renew
Fix 2 – Set IP address Manually
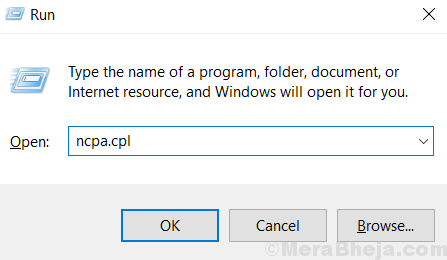
1. Press windows key + R together on your keyboard to open run command box.
2. Write ncpa.cpl in it and Click OK.

3. Now, Right Click on your WiFi adapter and Choose properties.

4. Select Internet Protocol Version 4 (TCP/IPv4) and then click on properties.

5. Choose Use the following IP address Radio Button.
6. Enter the following values in the field.
- IP Address – 192.168.1.14
- Subnet Mask – 255.255.255.0
- Default Gateway –192.168.1.1
7. Also enter Open DNS Settings in use the following DNS server addresses.
- Preferred DNS Server – 208.67.222.222
- Alternate DNS Server – 208.67.220.220

8. Click on OK
Fix 3 – Uninstall WiFi adapter
1. Press Windows key + X together and Click on Device manager to open it.

2. Expand Network adapters.
3. Right click and Uninstall your WiFi Adapter.

4. Now, Restart your Computer.
Fix 4 – Change Your Wireless SSID and password
Some users have reported that changing Wireless SSID and password helped them in fixing this error. Use an Ethernet cable to connect your PC to your modem and change SSID and Password.
Fix 5 – Change Channel Width to Auto
1. Press Windows key + R together to open run.
2. Write ncpa.cpl in it and click OK.

3. Now, Right click on your WiFi network adapter and choose properties.

4. Click on Configure.

5. Click on Advanced Tab
6. Select 802.11n Channel Width for band 2.4 and set it to Auto.
7. Click OK and close the window.
