In Windows 11, the compatibility mode in MS Word is a feature which enables the users to save the document in the old format instead of the newer version of the word application. But some users want their document to use latest features and to be saved as per the newer version of the word app. So the solution to this problem is to disable the compatibility mode in the MS word application. Here in this article, we will guide you through the steps given below.
How to disable the Compatibility Mode in MS Word application
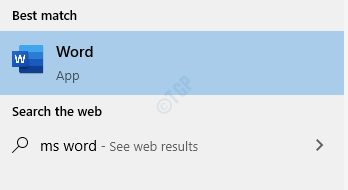
Step 1: First of all, Open the MS word application by pressing Win Logo and typing “ms word“.

Hit the Enter key.
Step 2: Once the word application is opened, click on Open Other Document which is at the left side panel to start with and select any word document saved as previous version of word application.
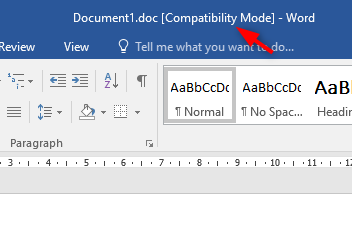
Step 3: As you can see, [Compatibility Mode] is written on the title bar next to Document1.doc
Note: It means, this document is saved as older version format(97-2003 version) and when this is opened using newer version(Word 2016), compatibility mode got enabled.

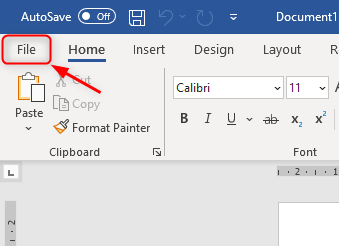
Step 4: To disable the compatibility mode, first of all, you have to go to File.

Then, go to Info as shown below.

Step 5: Next, Click on Convert.

Step 6: After the confirm windows dialogue box pops up, click on OK button to turn off the compatibility mode for MS Word application in Windows 10 like shown in the below image.

Step 7: After completing the Step 6, You can see the Compatibility mode on title bar is disappeared and the document will now be saved in the latest MS word application format.

This way you can disable the compatibility mode in MS word on Windows 11. Hope this article was helpful. Please leave comments below.
Thank you!