You all know how awesome it is, to work with the Microsoft Outlook. Available as a part of the Microsoft Office suite, Outlook has been upgraded to new features and support in its latest version. You would have mostly used it to send emails. But there is much more. It has got its own note takings, task managers, journals, and the calendar application. As it is mostly popular for its email application, why don’t we dig in deeper and bring out it’s hidden capabilities?
Consider a simple scenario.Suppose that you typed in a long email and pressed the Send button, and later found out that it was actually sent to a wrong recipient. Or rather, you forgot to make some corrections on that mail. You will probably send it again,now with the corrections made. In such a case, you can’t,in anyway, bring back the mail that had got wrongly delivered. Outlook, though delivers the email as soon as it is sent, there is a way of delaying it if you regret sending the message. This doesn’t make use of any third party software installation or any add-ons. All you got to do is make some modifications in its Settings which will automatically run in the background for every single mail.
Steps To Delay Sending Email In Outlook
STEP 1
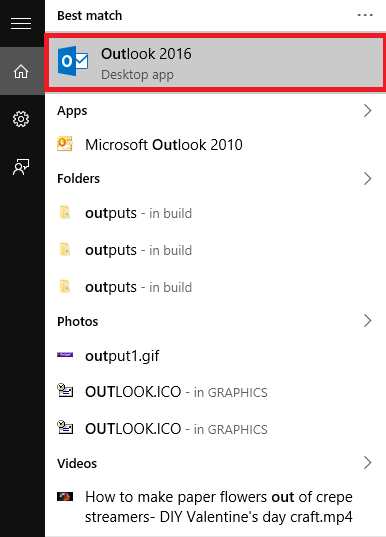
- Open up the Outlook 16 app from the Start menu. If you haven’t installed it yet, you can download it from here –Microsoft Office 16. Outlook comes along with the whole Office package. The latest Office 16 version is available free of cost for the first month, and then on, you will have to pay for it.Also, the trial versions can be extended upto six months.
STEP 2
- Once the application opens up, link it with your email account by typing the username and password. Your Inbox window gets launched.
STEP 3
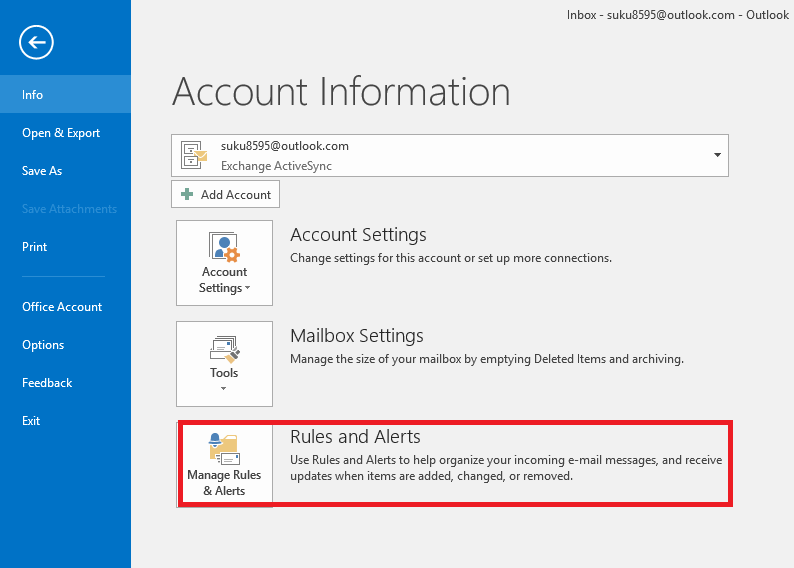
- On the top of the page, choose the first menu File. When you do so, you will find towards the right, a list of three options .Choose the option Manage Rules and Alerts.
STEP 4
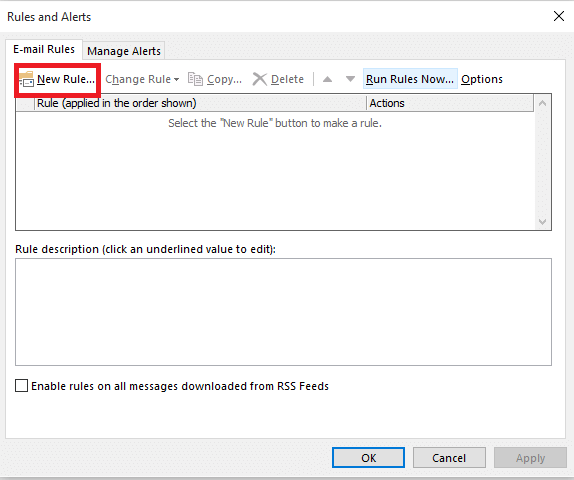
- On the newly popped up window, click on the option New rule that appears to the top left. This helps you to create the rules for the emails you manage, the ones sent and received.
STEP 5
- Under the Start from a blank rule option, you will find a phrase, Apply rule on Messages I send. This is going to help you out with the emails you send by setting up a checking process before you send them. Click on the Next button once you are done with it.
STEP 6
- Simple click on the Next button for the next window without choosing on any of the checkboxes. When you get an alert message asking you whether to apply the rule for every messages, click on Yes.
STEP 7
- Again you find a list of Options getting launched. Click on the option defer delivery by a number of minutes that appear towards the last.
- Click on the link a number of which is given under the box Edit the rule description.
STEP 8
- Choose the desired number on the text box and click the OK button.
There you are!Now the Outllook waits for the amount of time you chose before actually delivering the message.Give it a try!


