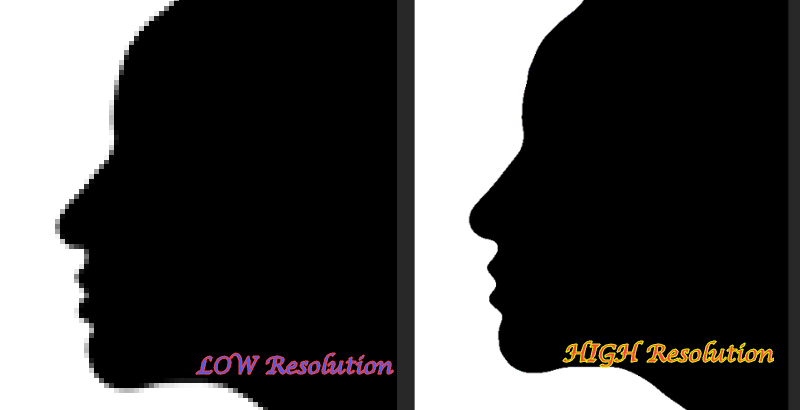
One thing you may have noticed is that if you enlarge a very small, low-resolution picture (like a logo), it creates a pixelated effect around the edges of the picture, making it look bad. But do you know that with a few tricks you can easily convert a Low-Resolution picture to a high-resolution one? You will just need Adobe Photoshop and nothing else to do this!
How to convert a Low-Resolution picture to a High-Resolution picture?
There are several steps involved in this conversion process.
Step 1 – Increase the Image Size
As this is a low-resolution image, you have to increase the image size as the first step.
1. Launch Adobe Photoshop.
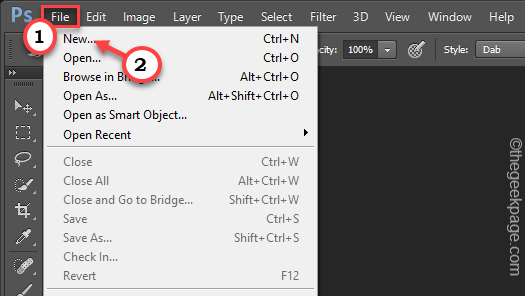
2. Now, click on the “File” and tap “Open“.
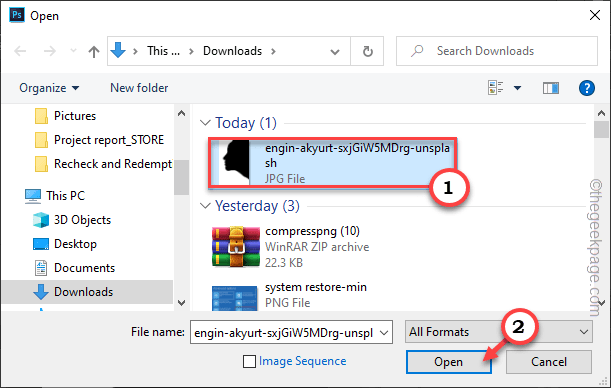
3. Now, navigate to the Low-Res picture and select the file.
4. Then, tap “Open” to open the file.
5. Once you have loaded the picture, you have to increase the size of it.
6. So, tap on the “Image” from the menu bar and tap “Image Size…” to change the size.
7. Now, set the “Width:” to “1000” pixels, and the “Height:” should change automatically.
8. Now, click on the “OK” to save the changes.
Once you have altered the size of the picture, you will notice the edge of the model to be slightly blurred, and pixelated. Don’t worry. It is quite natural.
Step 2 – Apply the Gaussian Blur
Now, you can apply the gaussian blur over the picture.
1. Just, tap on the “Filter” on the menu bar.
2. Then, click on the “Blur” from the drop-down and tap “Gaussian Blur” from the context menu.
3. Now, use the magnifying glass icon to adjust the preview to the edges of the picture.
4. Next, drag the slider slowly to the right side to the point where you can’t see the pixelation. The whole image will appear to be blurry.
5. Finally, tap “OK” to apply the blur effect.
Step 3 – Adjust the Curves
Finally, you just have to adjust the B/W curves of the picture.
1. Now, click on the fill and the adjustment layer icon and tap “Curves…” to adjust the curves.
2. Here, you will find two sliders, one for Black and another for White color.
3. Drag the white one to the left side and the black one to the right side. This way, make sure that the black and white are both prominent, ultimately exposing the black edges sharper in the white background.
4. Once you are satisfied with the balance, close the panel.
The final image should be something like this.
That’s it! This way, you can easily convert a low-resolution image file to a high-resolution image without losing details.
SPECIAL NOTE –
This trick works mainly on black and white images, like a logo, and icon graphics with monochromatic effects. This is not very helpful with colorful diverse graphic files. On another note, this also resizes the picture. As the picture increases in both height and width, the size of the picture will also go up.


