In case if your computer suddenly shuts down when it is booting up then upon booting up further, you will see a rather annoying automatic check disk at the startup. This check disk may take a long time to complete the disk checking process. If you want to get rid of this unnecessary disk checking process, follow these solutions and the problem will be fixed in no time at all.
Fix-1 Cancel Scheduled Disk Check-
You can cancel an already scheduled check disk operation on your computer to prevent it from happening at the startup.
1. Press Windows key+R to launch Run window on your computer.
2. Type “cmd” in that Run window. Then, press Ctrl+Shift+Enter together.

3. If you want to cancel a disk check of C: drive, type or copy-paste this command and then hit Enter to execute it on your computer.
chkntfs /x C:

[NOTE– If you want to prevent check disk on another drive, simply replace “C:” drive with the drive letter of that particular drive.]
Now, restart your computer and check if this helps.
Fix-2 Using Registry Editor-
1. Press Windows key+R to launch Run window on your computer.
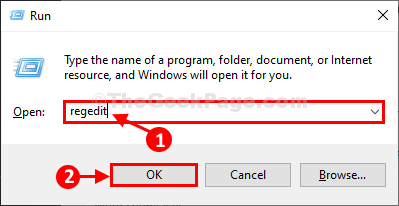
2. To access the Registry Editor, type “regedit” in Run window and then click on “OK“.

[NOTE–
After opening Registry Editor, click on “File” > “Export” to create the backup and save it on your drive.]
3. In Registry Editor window, you have to reach this location-
HKEY_LOCAL_MACHINE\SYSTEM\CurrentControlSet\Control\Session Manager
4. Now, on the right-hand side, double click on “Bootexecute” to modify it.

5. Now, you need to delete everything except this line “autocheck autochk *“.
6. Now, click on “OK” to save this change on your computer.

Once done, close Registry Editor window.
Restart your computer. During the reboot, the disk check process will not be automatically started.
Your problem will be solved.