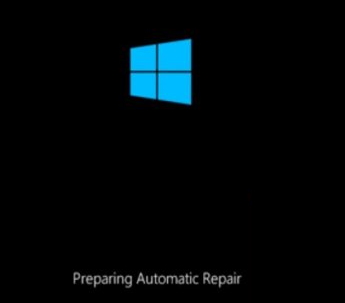
Is Windows not starting up on your computer? Is it throwing up an error code ‘Status: 0xc0000098‘ along with a long error message starting with “Windows failed to start.” statement? The problem is associated with the boot configuration data on your computer. To solve this error all you have to do is follow these easy fixes on your computer.
You will need a bootable installation media (or the Windows 10 DVD from which you had installed Windows 10). If you don’t have one, you have to create a bootable installation media. After you have created the bootable installation media for your device, you may proceed to the main solutions.
Fix-1 Re-build Boot Config Data
Re-build Boot Configuration Data (BCD) on your computer.
Note: – If you can not boot into your system, then try going to automatic repair screen using the steps given below.
1. Turn off your computer.
2. Then, start your computer using power button once.
As soon as something appears on screen (Usually logo of your laptop manufacturer), just press and hold the power button for 5 seconds continuously to force shutdown your device.

3. Keep repeating this process (Force shutdown and then starting again) for 2–3 times until you see Automatic repair screen.

4. Then, click on “Advanced options“ in the next screen.

5. When you see the “Advanced options“, click on it.

6. Now you need to click on the “Command Prompt” to access it.

7. You need to copy-paste this single line of code in the Command Prompt window and then hit Enter. This will rebuild the boot configuration data on your computer.
bootrec /rebuildBcd

8. To fix the master boot directory you need to execute these.
bootrec /fixmbr
bootrec /fixboot

Close Command Prompt window.
9. Coming back to click on “Turn off your PC” to shut down the computer.

You need to wait for a time.
11. Then what you need to do is to unplug the Windows 10 installation drive from your computer.
12. Start your computer and it will boot up Windows normally.
Fix-2 Try startup repair
Follow the steps up to step 5 in Fix 1 given above ( Troubleshoot > Advanced Options ), then choose startup repair and let it repair your PC automatically.

Fix-3 Run chkdsk command
Follow the steps up to step 5 in Fix 1 given above ( Troubleshoot > Advanced Options ), then choose command prompt again
Now, run the command given below and hit enter key
chkdsk C: /f /r /x
After it gets completed, close the cmd window
Note: – If it does not work, go to command prompt again and run the command given below
sfc /scannow /offbootdir=c:\ /offwindir=c:\windows
close the cmd window after it gets executed fully
Fix-4 Repair MBR-
Repairing the Master Boot Record on your computer may solve this issue.
1. Insert the Windows 10 installation disk and then click on “Next“.

2. On the bottom left corner of the Recovery Environment, click on “Repair your computer”

3. Then, click on “Advanced options“.

4. You can easily access the “Command Prompt” by selecting it from the Advanced options menu.

5. To repair MBR, copy-paste this command in Command Prompt window and then hit Enter.
bootsect /nt60 C:

6. When you see the message “Bootcode was successfully updated on all targeted volumes“.
Close Command Prompt window.
Switch off your device.
Start your computer and it will boot up Windows 10 normally. Check if the problem is still there or not.