How To Transfer Call Logs And SMS From One Android Phone To The Other :- The first concern that comes to your mind when thinking of getting a new phone would be about your call logs and messages. How to transfer everything to the new phone from the old one would stand as a big tall question mark before you. But don’t worry anymore. We have got the perfect solution right here for you. Dive into the article to learn how to hack this simple trick.
Note: Make sure both the sending and receiving phones are connected to the same WiFi network. It doesn’t work over cellular network.
STEP 1
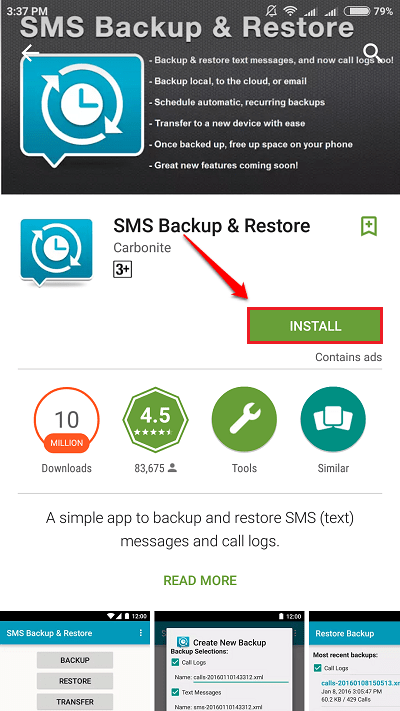
- First of all, install the application SMS Backup & Restore from Google Play on both the sending and receiving phones.
STEP 2
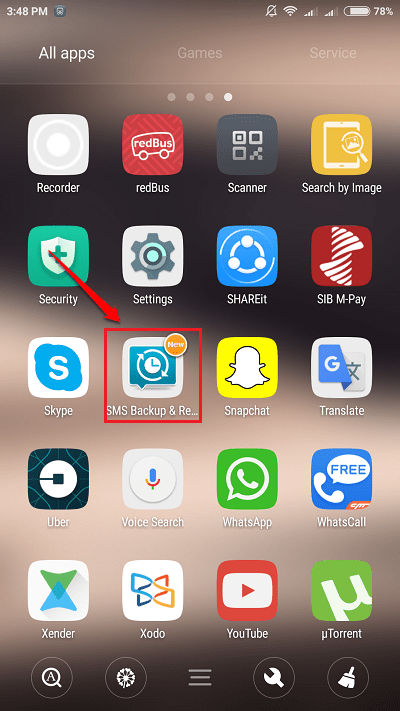
- Once installed, launch the application on both the devices by clicking on its icon.
STEP 3
- Now take the phone from which you want to transfer the call logs and messages from. Click on the Transfer button. Simultaneosly click on the Transfer button in the receiving phone as well.
STEP 4
- Now in the sending phone, click on the button that says Send from this phone. On the recieving phone, click on the button that says Receive on this phone.
STEP 5
- Now the sender will start scanning for nearby devices. Receiver will start looking for an invite from the sender. Once the name of the receiver appears in the sender’s nearby devices, click on it.
STEP 6
- Sender will now send an invite to the receiver. The receiver has to accept the invite by clicking on the Accept button.
STEP 7
- As next in the sending phone, click on the Transfer text messages and call logs from the current state of your phone button. The receiving phone will now prepare for the transfer from the sending phone.
STEP 8
- Now the sending phone will start backing up the call logs and messages. Meanwhile, you have to click on the Accept and Restore button on the receiving device.
STEP 9
- On the receing device you have to set the SMS Backup & Restore app as the default messaging app. You can change it later. So click on the Ok button when you are shown the following alert box on the receing device.
STEP 10
- As next, click on the Yes option when asked to change the default messaging app.
STEP 11
- Sender will now start transfering.
STEP 12
- Once it’s all done, the sender will show a success message as shown in the following screenshot.
STEP 13
- The receiving device will begin to restore the call logs and messages. Sit back and relax. This could take a little while.
Do not worry about getting a new phone anymore. You will have all your data waiting for you in your new phone in a matter of seconds. Hope you found the article useful. If you have any doubts regarding any of the steps, please feel free to leave comments. We would be happy to help. Stay tuned for more tricks, tips, and hacks. Meanwhile, you could check out our artcile on the topic Backup Contacts on Your Android phone To Your Google Account.


