Generally, when you make a PowerPoint presentation you insert images as background for the slides to improve their aesthetic appearance. Have you ever tried to make the background image transparent in PowerPoint? Whenever you make a picture transparent, it helps to get rid of unnecessary distractions in the slide, enables the readers to focus on the particular area of an image, helps to highlight certain facts, figures, icons, text, etc in the foreground of the slides and helps use images as watermarks for slides.
In this article, we have discussed the steps to help you set a transparent background image in PowerPoint.
Steps for Earlier Versions Before Office 2016
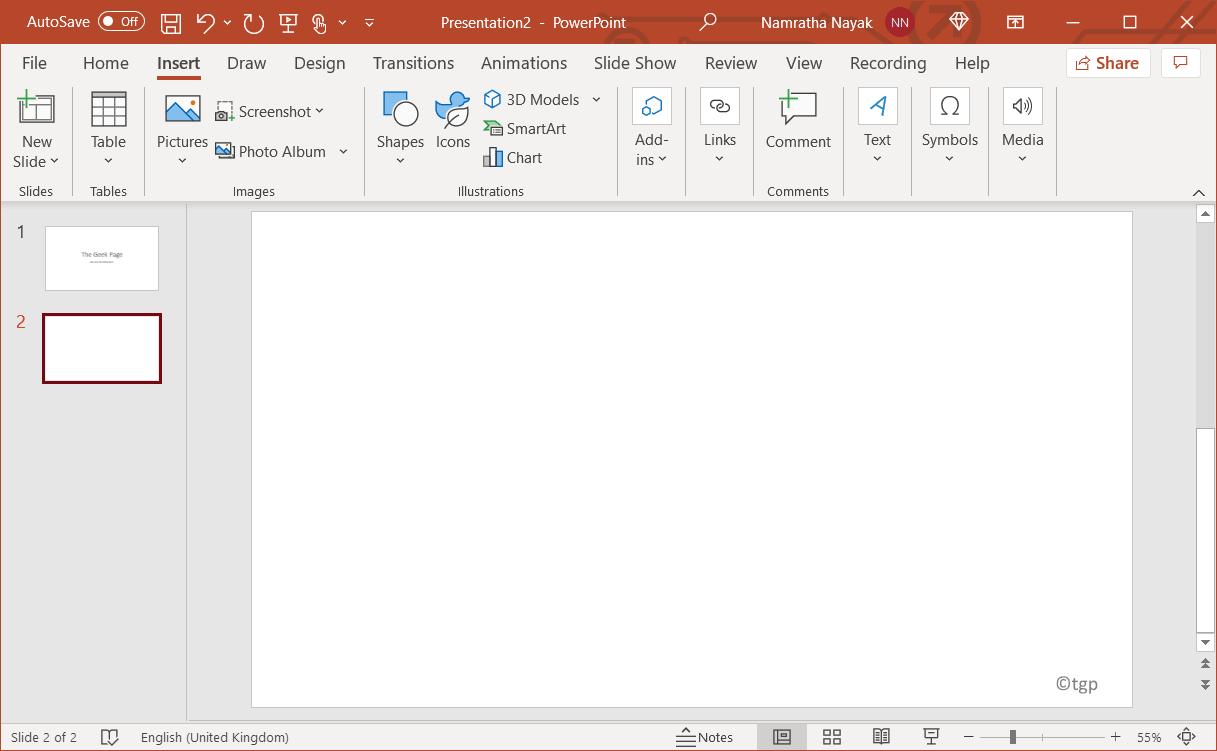
1. Open a new PowerPoint presentation.

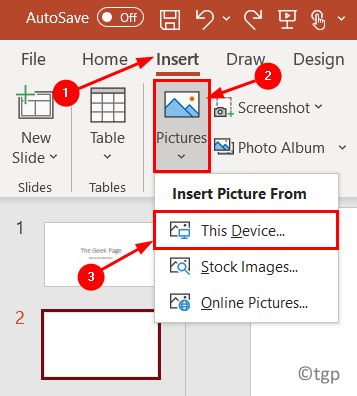
2. Go to the Insert menu. Select Pictures and click on any one of the options Insert Picture From This Device, or Stock Images, or Online Pictures.

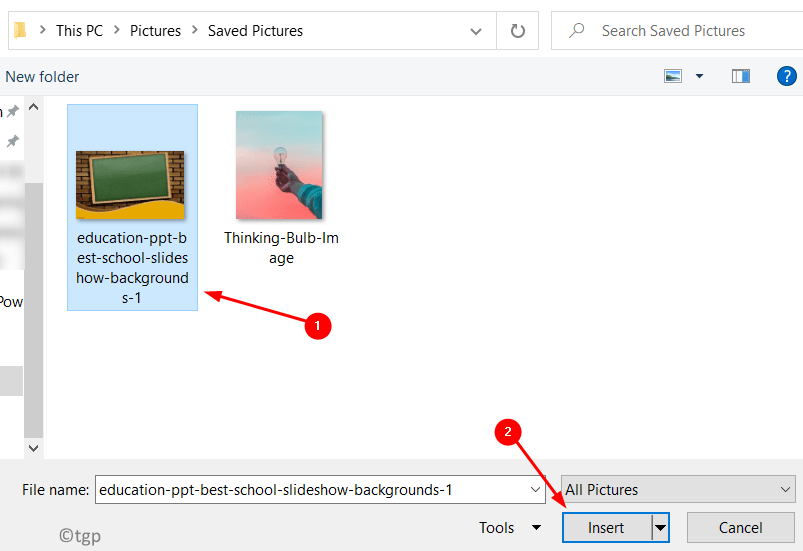
3. Select your image and click on Insert.

4. Once your image is inserted on the slide, right-click on it and select the option Send to Back.

5. Now adjust your picture to fit the slide based on your need.
6. Select the picture and press Ctrl + X to cut it. It is now saved in the clipboard.
7. Right-click on any empty area on the slide and select Format Background…

8. On the menu that appears on the right side of your screen, under Fill check the option Picture or Texture Fill.
9. In Picture Source, click on Clipboard. The image is now been inserted as a background in your slide.
10. In the same menu on the right side under Texture, you will see a Transparency slider. Use the slider to adjust the transparency level based on your requirement.
11. If you want this transparent image as a background for all the slides in your presentation, then click on the Apply to All button on the right side.

Steps for Microsoft Office 365 and Office 2016
The previous steps also work in the newer Powerpoint versions. But with Microsoft 365 and Office 2016 there is a new feature tab that can be used to set the transparency level.
1. Perform Steps 1 to 5 as given above.
2. Now when you select the picture, you will see a Picture Format tab.
3. In the Adjust group under the Picture Format tab, click on Transparency.
4. Here, you can choose from one of the preset options for the desired transparency level.
5. Or, select the Picture Transparency Options… under Transparency to customize the transparency level.

6. Format Picture menu is now opened on the right side. Use the Transparency slider under Picture Transparency to make the required change.

Thanks for reading.
You must now be able to create PowerPoint presentations with a transparent background image.