Microsoft has given all the free apps of Windows 10 in Windows 11 plus some new ones. The most exciting new app that comes inbox with Windows 11, is an app called Power Automate Desktop. In this article, we are going to explain what this app does and how to use this unique app on your new Windows 11 device.
Power Automate Desktop
The Power Automate desktop, as the name suggests, automates almost any task that you want to on your Windows 11. This RPA (Robotic Process Automation) tool allows the users to record and use repetitive tasks using a more advanced and simplified Graphical User Interface. The closest comparison can be the ‘Macro’ feature in MS Excel, but this is more advanced than the latter.
It was a paid app in Windows 10, which became free to use later. But, Windows 11 comes inbuilt with this app.
How to set up and use the Power Automate Desktop
Follow this guide to understand how this Power Automate Desktop works and use it on your system.
Step 1 – Setting up the Power Automate tool
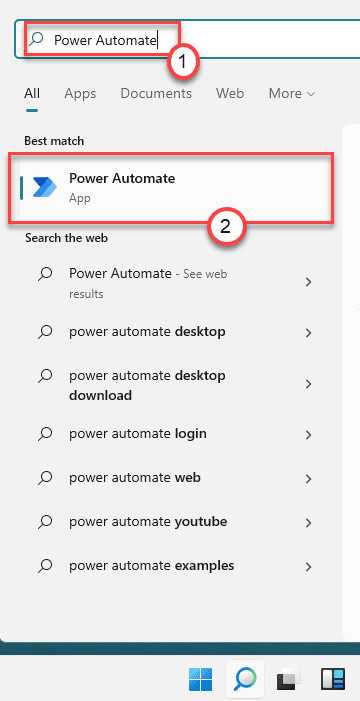
1. Press the Windows key + S keys together to access the search box.
2. Then, type “Power Automate” in the search box.
3. Next, click on the “Power Automate” in the search results.

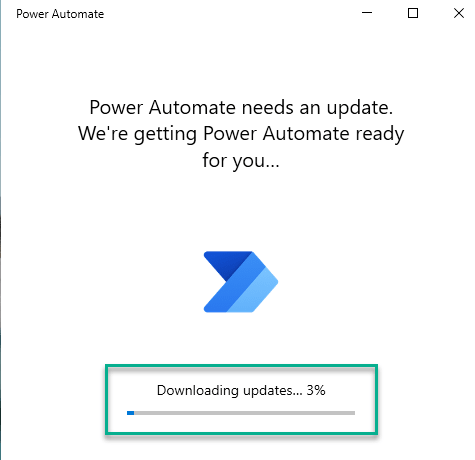
4. At first, Power Automate will download the latest version of the app.
So, wait for the downloading process to be complete. Once it is downloaded and installed, follow the rest of the steps.

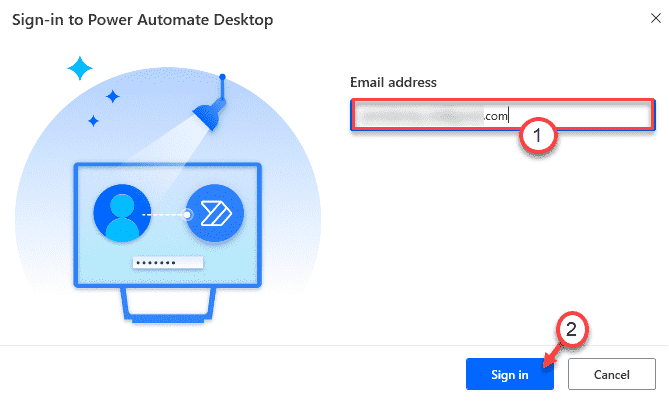
5. You will be asked to sign in with the Microsoft account. Then, click on “Sign in” to sign in with your account credentials.

6. Put your email associated with the Microsoft account in the particular box.
7. Then, click on “Sign in” to sign in with your account.

8. Next, just select the Microsoft account from the list of accounts.

9. Further, write your account password and then click on “Sign in“.

This way you have to set up the Power Automate before you can use it.
Step 2 – Configure and use the Power Automate
Once you have configured it, you can create a new flow and configure it according to your requirements.
1. At first, click on the “New Flow“.

2. Set a name for the automation as you prefer.
3. Then, click on the “Create” button on the bottom-left corner.

4. You will see that the flow is created. Minimize the Power Automation window if the flow editor is opened already.
5. If the flow editor isn’t open yet, just double-click on the name of the flow that you have created.

This will open up the flow editor on your computer.
In this editor, you will find several tools to record/create a manual action layout. The action recording feature is the simplest and useful even for beginners.
Step 4 – Record a FLOW using the desktop recorder
We have created and shown a detailed approach on how to record a simple flow process followed by an example on ‘How to automatically clear the Recycle bin‘.
1. In the Power Automate Desktop window, click on the “Desktop recorder” icon.

Power Automate Desktop screen will minimize.
2. When the Desktop recorder window opens up, click on the “Start recording“*.

Now, just do the steps you want this flow process should perform. Power Automate will reckon these steps and record them.
Example –
We have created a simple automation flow process of clearing the Recycle Bin.
These are steps to perform as the Power Automate will record the exact steps.
a. Minimize the Desktop recorder if it is not minimized.
b. Then, double-click on the “Recycle Bin” icon on the desktop.
c. After that, click on the “Empty Recycle Bin” to clear the contents of the directory.
d. A prompt message will appear for confirmation. Just, click on “Yes“.
e. Once you are done, maximize the ‘Desktop recorder’ window. Then, click on “Pause recording“.
Here, we have detailed this process with this –
3. Finally, click on “Finish” to finish the recording process.

4. Now, just click on the “Save” icon on the top bar to save this recording.
This will save the file on your computer.

5. If you want to see how this automation works, click on the “Play” button to check it out.

This will play the flow that you have recorded. It will enact the same steps that you have recorded with the desktop recorder.
Thus, you have just created new, simple flow automation on your computer.
[
*NOTE –
1. Once you have started the recording process, you can pause the recording process. To do so, just click on the “Pause recording“.

2. If something odd happens during the recording process or you record a wrong step, just tap on the “Reset recording“.
This will clear all the recorded steps that you have just recorded.

]
The recording process we have explained is the simplest approach. This app also offers a huge array of tools for a more detailed flowchart creation process.