By default, Windows 11 has the Stereo mode on for sound settings. Stereo mode enables users hear different sounds through different side speakers. If you have plugged in a headset, and if stereo mode is enabled, then different sounds play through left and right ear pieces. This is a very useful feature as it provides a very enhanced audio experience to users.
However, let’s say you have to watch a movie on your laptop with your friend on a train and has to share an earphone. In this case, if different sounds play through the different sides of the headphone, then it will be very difficult to enjoy the movie with only one piece of the earphone in your hand. In this scenario, if you can enable the mono audio feature, it would combine both the right and left audio channels into one channel. Well, sounds interesting? Yes, it is very much possible in your Windows 11.
Read on, to learn how you can easily enable or disable the mono audio feature in your Windows 11 with some very easy steps.
How to Enable Mono Audio Feature in Windows 11
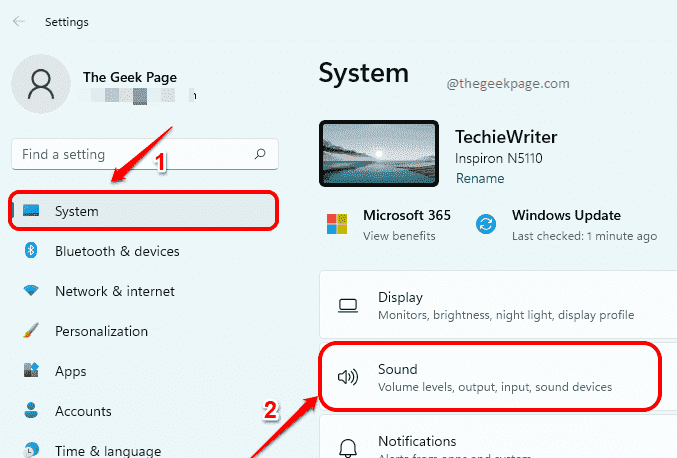
Step 1: Press Win and I keys together to launch the Settings application.
In the left window pane, click on the System tab. In the right window pane, click on the Sound tab.
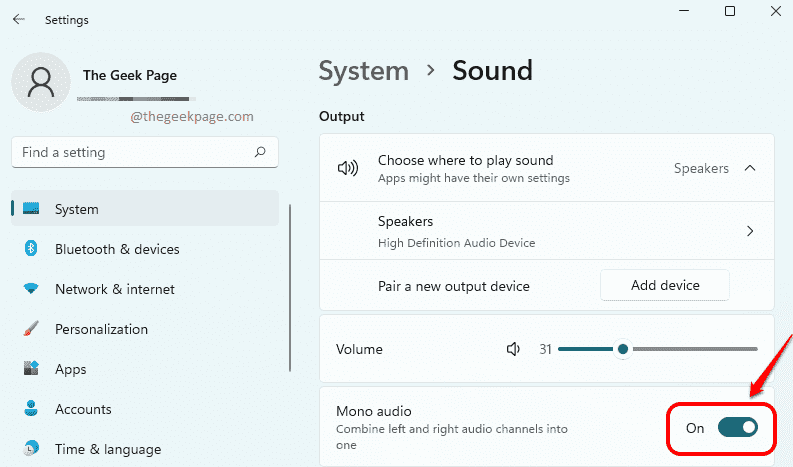
Step 2: Now scroll down through the Sound settings and turn the toggle button ON for Mono audio.
This would combine left and right audio channels into one.
How to Disable Mono Audio Feature in Windows 11
Step 1: Launch the Settings application by pressing the Win + I keys together.
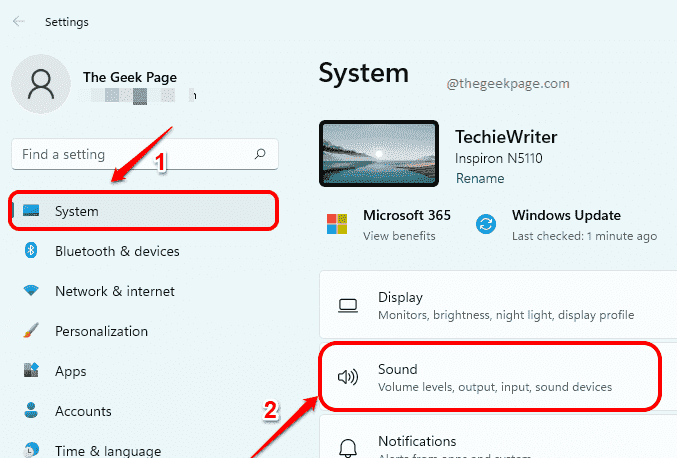
Click on System tab in the left window pane and click on Sound tab in the right window pane.
Step 2: To disable Mono audio feature, turn the toggle button OFF for the Mono audio option.
That’s how easy it is to enable and disable the mono audio feature in your Windows 11. Hope you found the article useful.


