Multiple users login is a great feature of the Windows for many years. It ensures the safety of users’ files on the computer that more than one people are using.
However, that also means that no other user can edit that files or delete them from the computer. In case, if the user is not available on the computer or user account is not accessible anymore and you want to edit those files you will need full access to those items.
Here, we will talk about the method that you can follow to get total ownership and access to files and folders of other users. This is a simple method for granting access using Windows Explorer and does not require any additional program to get access.
Windows Explorer has natively option for changing ownership of files and folders. Follow these step to get the ownership and full access to files and folders.
How to take ownership of files in Windows 10
Step 1] Launch File Explorer by pressing Windows and E at the same time. Navigate to the folder on which you need access and full ownership.

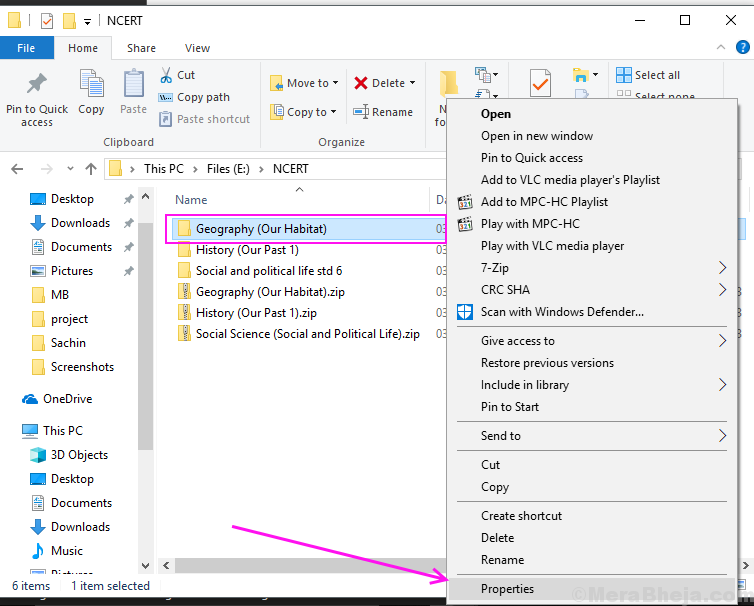
Step 2] Right click on the file/folder and select properties.

Step 3] Switch to the security tab in the properties and click on the advanced button.

Step 4] A new window of Folder security settings will be open now, it will show which user has access to this folder and what can they do with this folder. On top, you will find the owner user of that folder, Click on Change link next to it.

Step 5] Type your username in the text box titled Enter the object name to select then click OK.

Step 6] If you also want access to the subfolder of this folder then check the box which appeared below the owner name(ie Replace owner on subcontainers and objects). Click OK.

This process will transfer ownership to your user. But we still need to give it full access of folder to the user.
Step 7] Once again click on the advanced button in the security tab of the folder properties.

Step 8] Click on the Add button in the advanced security setting of the folder window. It will open a permission entry window.

Step 9] Click on add a principal.

Step 10] Enter the username in the text box and click on OK.

Step 11] Check on the full control option and then click OK.

Step 12] Check to Replace all children permission if you want access to the subfolders also and then click on OK.

I hope that you will able to access an edit the files and folder by following this method. If you have any query regarding this method feel free to tell us in comments.