Let’s say you are working with clients from different time zone and want to send emails when they are available online. To do this you do not need to wait a whole day and then compose the email and click on Send, instead you can schedule the emails at a specific time and they will be sent automatically at the mentioned date and time. This can be done using the Delay Delivery option in Outlook and it is very useful. In this article, let us see how to schedule or delay sending of emails in Outlook.
Schedule or Delay Sending Emails In Microsoft Outlook
Step 1: Open Microsoft Outlook
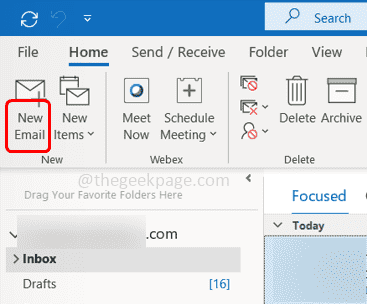
Step 2: If you want to compose a new email then click on New Email at the top left.
Step 3: If you want to Reply, Forward emails then click on Reply/Reply All/Forward as per your need.
Step 4: In the email write the message that you want to send, and address it to whom you want to send it.
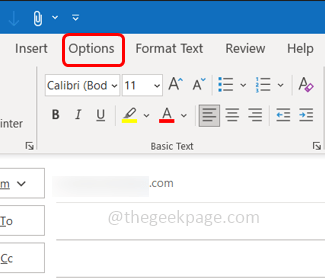
Step 5: Click on the Options tab at the top.
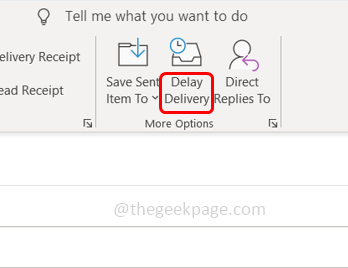
Step 6: Click on Delay delivery
Step 7: There appears a window, in the delivery options section, select the checkbox beside Do not deliver before
Step 8: Set the date and time when you want the email to be sent by choosing from dropbox.
Step 9: Close the window by clicking on the Close button.
Step 10: Now at the top left of the composed email click on Send.
Step 11: Check the Outbox folder and find the email message that is scheduled but is not yet sent.
Step 12: If you want to re-schedule the send date and time, then open that email in a new window and follow [Step 5 and Step 6]
Step 13: Set a different time and click on close.
Step 14: In case you want to send the email immediately, open that email in a new window and click on Options, and then Delay delivery
Step 15: Uncheck the checkbox beside Do not deliver before and click on Close.
Step 16: In the composed email click on Send to send the email message immediately.
That’s it! I hope this article is helpful. Thank you!!


