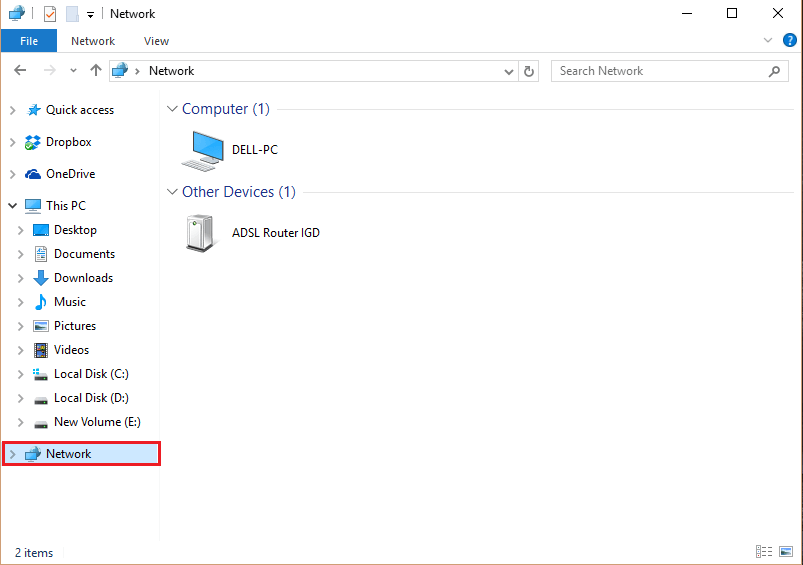
Network Discovery is a feature in Windows that allows you to view other computers that are connected to your network. Using this feature, you can browse files/folders on other computers.

Sometimes, we face issues when some of the protocol related to Network & Firewall settings fails to work. In this situation, finding computers on the network becomes strenuous.
Recommended article: Fix : Network Discovery Not Working in Windows PC
In this article, we’ll follow certain steps on how to fix Network Discovery in Windows 10:
Step 1:
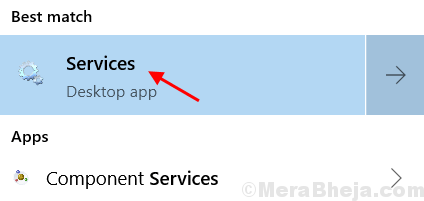
Search Services in Windows 10 Taskbar search.
Step 2 :
Now, Click on Services icon to Open Service manager window.

Step 3:
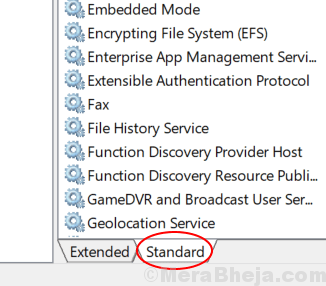
In the bottom left corner of the “Services” window, click on “Standard”.

Step 4:
Scroll down & Locate “Function Discovery Resource Publication”. If the Startup type is found to be “Manual”, right click on it & click on “Properties”.

Step 5:
Change the Startup type to “Automatic” & click on “OK”.

Step 6:
Scroll down again and look for “SSDP Discovery”. If the Startup type is found to be “Manual”, right click on it & click on “Properties”.

Step 7:
Change the Startup type to “Automatic” & click on “OK”.

Step 8:
Scroll down again & look for “UPnP Device Host”. If the Startup type is found to be “Manual”, right click on it & click on “Properties”.

Step 9:
In the final step, change the Startup type to “Automatic” & click on “OK”.

Step 10: Restart computer.