If you are a person who is working with people across the globe that means you work with people from different time zones, then time management should be effectively done. Some of us get confused with the time zones when the meeting is scheduled. The best way is to add additional time zones to your Outlook calendar. The way how you add an additional clock to your system similarly add an additional time zone to your calendar. This really helps to manage your time. In this article let us see how to do it.
Add/Remove Additional Time Zones In Microsoft Outlook
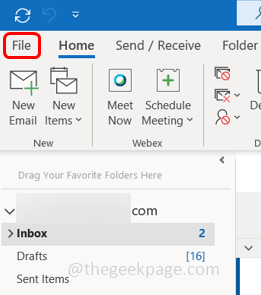
Step 1: Open Microsoft Outlook.
Step 2: Click on the File tab at the top left corner.
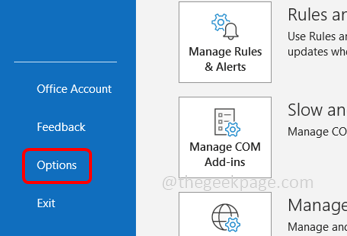
Step 3: Scroll down and click on Options on the left.
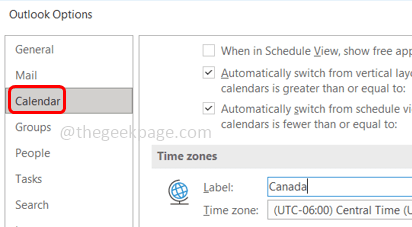
Step 4: In the Outlook Options window click on Calendar
Step 5: Under the Time zones section, click on the checkbox beside Show a second time zone.
Step 6: You can give a name to the time zone you are adding in the label field.
Step 7: Select which time zone you want to add by clicking on the time zone drop-down and selecting the zone. Here I have selected the India time zone.
Step 8: You can add one more time zone by selecting the checkbox beside Show a third time zone and follow the same steps [Step 6 and Step 7]
Step 9: To save the changes, click on OK. Now you have added two additional time zones to your outlook calendar.
Step 10: Now if you click on the calendar icon, you can see the added time zones on the left side.
Step 11: To remove the timezone, go back to the time zones section and uncheck the checkboxes beside show a second time zone and show a third time zone. Then click on OK
That’s it! I hope this article is helpful. Thank you!!


