Some users wouldn’t want a hello pin associated with their Windows 11 account. It could be because they want to login only using their Microsoft account password or it could be because they are not comfortable with a 4 digit pin code being used for their login.
Whatever be the reason, if you tried to remove the hello pin from your Windows 11, but saw that it is greyed out and not clickable, you have come to the right place. In this article, we explain how you can make the hello pin Remove button clickable and to use that Remove button to remove the hello pin from your Windows 11.
Step 1: Press WIN + I keys together to open the Settings app.
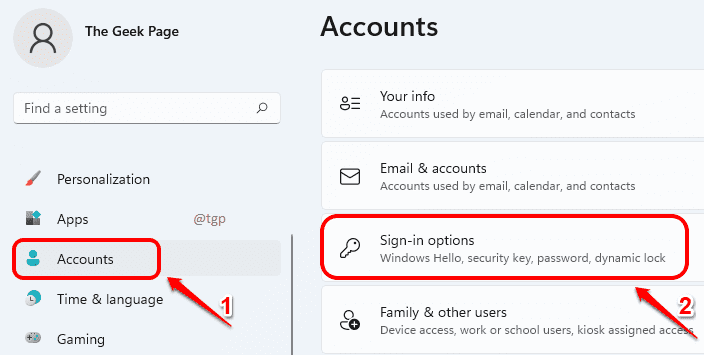
In the left window pane, click on Accounts and in the right window pane, click on Sign-in options.
Step 2: In the Sign-in options window, under Additional settings section, find and turn OFF the toggle button corresponding to the option For improved security, only allow Windows Hello sign-in for Microsoft accounts on this device (Recommended).
Step 3: Now scroll up and find the section Ways to sign in. Click on PIN (Windows Hello) tab to expand it.
You can now see that the Remove button associated with the option Remove this sign-in option is clickable. As next, click on the Remove button to remove the hello pin from your account.
Step 4: You will be asked to confirm the Removal. Click on the Remove button again to confirm.
Step 5: When asked to verify your account, type in your Microsoft account password and hit the OK button.
Step 6: That’s it. You can now see that your Hello Pin is successfully removed.
Please note that even if you remove the hello pin, you would still be required to enter your Microsoft account password in the startup screen to login to your Windows. If you would like to login automatically without entering any pin or password, you can easily do so by following the steps on our article here.


