Network connectivity issues were very common with Windows 8. Microsoft took the complaints seriously and worked a lot to fix them while launching Windows 8.1 and Windows 10. With every upgrade, the kept bettering the situation, however, still a lot of users face issues with network connectivity.
The Network adapter troubleshooter checks the settings and drivers, if they are in place or not, and resolve whatever it can. Usually, it doesn’t help much other than setting a few settings to default. But one good thing it does is informing about the problem.
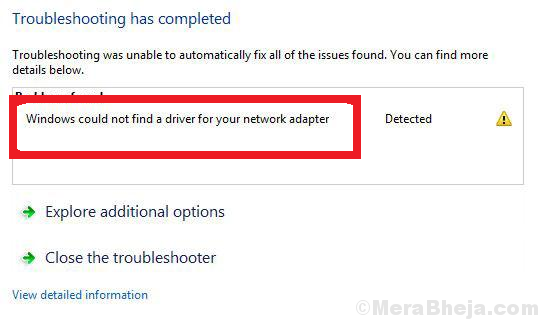
In many cases, it gives the following error message:
Windows could not find a Driver for your Network Adapter
The first approach upon facing issues with Network connectivity is to run the Network adapter troubleshooter.
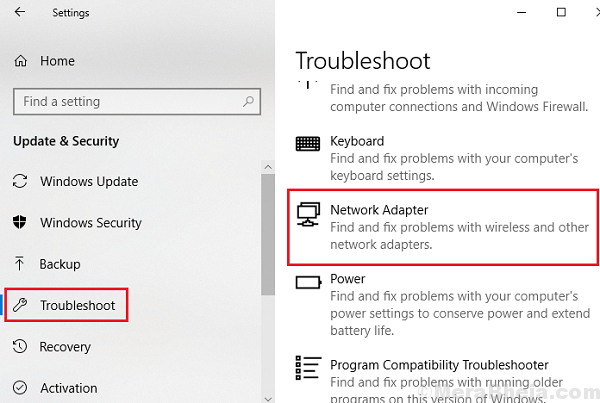
Just Go to Settings -> Update & Security -> Troubleshoot -> Network Adapter.
Just click on Network adapter to troubleshoot and see if it works or not.
Now this obviously doesn’t mean that there is no Network Adapter in the system, unless it is a manufacturing defect and you are using the system for the first time. The cause behind this error is that the operating system is unable to interact with the Network adapter.
Solution 1 ] Try reinstalling the network adapter
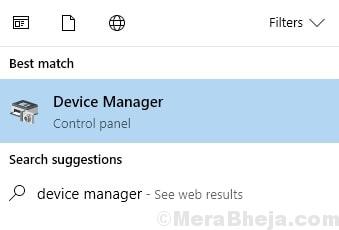
1. Search Device manager in windows 10 search box and click on search result to open device manager

2. Now, expand network adapters and locate your network adapter with which you are connected via internet.
3. Right click on the network adapter and click on Uninstall.

4. Now, click on Action and scan for hardware changes.

Solution 2] Updating the network drivers
Since this is the most important step for fixing the problem, we will make sure we have exhausted every possibility of the issue being with the drivers before proceeding further.
Search device manager in windows 10 taskbar search and open device manager.
Now, Right click and update your network adapter.

However, the problem is that when you are not able to connect to the internet at all, how would you update the drivers. Try reinstalling them though. One way to update the drivers could be as follows:
1] Download the drivers for the Network adapters on a different computer, either from the system manufacturer’s website of Intel’s downloadcenter.
2] Transfer the file to your system using a USB drive.
3] Press Win + R to open the Run window and type the command services.msc. Press Enter to open the Service Manager window.
4] Expand the list of Network adapter drivers.
5] Right-click and select Update driver.
6] Click on “Browse my computer for driver software.”
7] Let the system accept the drivers and then restart the machine.
The master step in this troubleshooting is to reinstall the drivers, because the drivers connect the operating system to the hardware of the Network Adapter. If you have tried everything with the drivers and yet it doesn’t work, the system might have to be sent for hardware repair.
Solution 3] Verify the Power Management of your network adapter
If the issue isn’t with the drivers (after we have isolated the case in the first solution), the problem could be with the Power Management of the system. Try the following steps to rectify the same:
1] Press Win + R to open the Run window and type the command devmgmt.msc. Press Enter to open the Device Manager window.
2] Expand the list of Network Adapters and right-click on your adapter. Select Properties.
3] Go the Power Management tab and uncheck the box “Allow the computer to turn off this device to save power.”
4] Click on OK to save the settings.
Hope it helps!

