Logtansport2.Exe is a very important software component of Adobe Acrobat Reader DC, that can view, change, create and print pdf files. So, if you are facing the “LogTransport2.exe. The application was unable to start properly. (0xc0000142). Click OK to close this application.” error message, don’t consider LogTransport2.exe as a threat. There can be a ton of reasons behind this issue, but the data exchange between your machine and the server can cause this problem.
Fix 1 – Disable the data collection
As we have mentioned before, the data exchange from your computer to the Adobe server can cause this. Opt-out from data collection within the Adobe Privacy page.
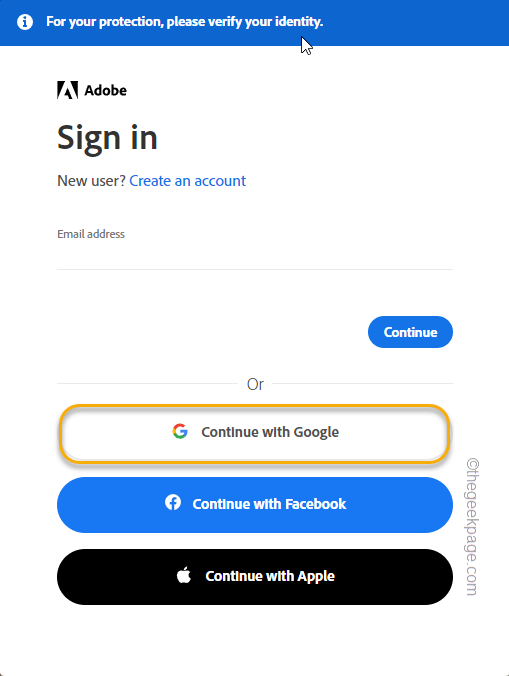
1. Open the Adobe privacy page.
2. If you haven’t logged in with your Adobe credentials, log in.
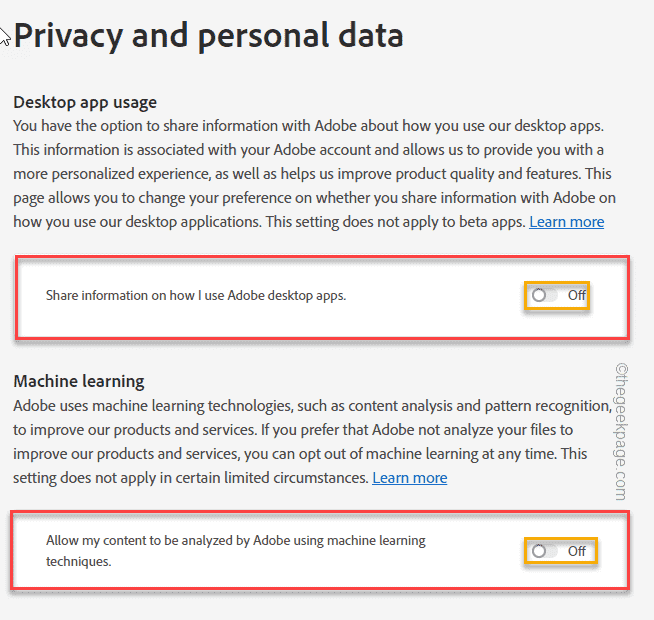
3. Once you have logged in, you will land on the Privacy and personal data page.
4. In the Desktop apps usage set the “Share information on how I use Adobe desktop apps.” to “Off“.
5. Just like that, in Machine Learning settings, toggle the “Allow my content to be analyzed by Adobe using machine learning techniques” to “Off“.
After doing this, you will notice a small message “Your privacy settings have been saved” appearing at the bottom of your screen. You can close the browser.
Then, restart your system to test whether this works out.
Fix 2 – Use the Registry
You can use the Registry Editor to get the proper permission for a particular key.
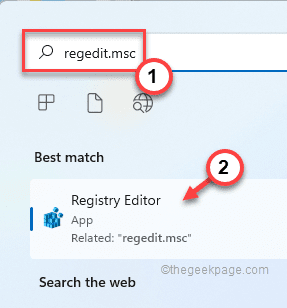
1. Just search “regedit” from the search box on your system.
2. After that, click on “Registry Editor” to access it.
Warning – You are going to modify the permission of a certain value. So, you should take a backup of the registry.
a. At first, click on the “File” option.
b. After that, tap “Export…” to create a new registry backup on your system.

Just name this backup and save it somewhere safe on your system.
3. When the Registry Editor window, just move this way –
HKEY_CURRENT_USER\SOFTWARE\Adobe\CommonFiles\UsageCC
4. Just, right-tap the “UsageCC” and tap “Permissions…“.
5. In the Permissions tab, tap the “Advanced” box to access the Advanced settings.
6. Now, tap “Disable inheritance” to disable the inheritance from the particular key.
7. Then, tap “Apply” and “OK” to save these changes.
After doing this, close the Registry Editor. Once you have closed it, restart your machine. Check whether the error message is appearing or not.
Fix 3 – Repair Adobe Acrobat Reader DC
Repairing the Adobe Acrobat Reader DC should help you resolve the issue.
1. You need to press the Win key +R keys together.
2. Then, type “appwiz.cpl” and click “OK“.
This shall open the Programs and Features page in Control Panel.
3. You should see the “Adobe Acrobat Reader DC” app at the top of the list of apps.
4. Here, just right-tap the app and tap “Change” to modify the app.
5. Now, choose the “Repair installation errors in the program. This option fixes missing or corrupt files, shortcuts, and registry entries.”
6. After that, tap “Next“.
This will repair the existing installation of Adobe Acrobat Reader CC app and fix it.
7. Once it is done, you can tap “Finish” to complete the process.
8. Coming back to the Programs & Features page, you may find other entities in that is signed by “Adobe System Incorporated“. If you can find one, you may perform a repair operation on it as well.
After this, close the Control Panel and reboot the system. Then, check if you are still seeing the error message or not.
Fix 4 – Check for the latest version
Sometimes if you are wokring on a older version of Adobe Reader, try to update it.
1. Launch the Adobe Acrobat Reader DC.
2. Once the Adobe Reader opens up, tap on the last option “Help” and tap “Check for Updates…“.
3. Just wait for a while as Windows searches for the latest update package.
After updating it, close and relaunch it. Restart the system and test if this works.
Fix 5 – Uninstall Adobe Reader and reinstall it
You can uninstall the Adobe Acrobat Reader from your system and reinstall the lates version.
1. Just right-tap the Windows icon on the middle of the taskbar and tap “Settings“.
2. You will find the “Apps” settings on the left-hand pane. Select it.
3. Now, tap “Apps & Features” settings on the opposite side of the window to access it.
4. The list of all the installed apps on your system will be visible to you on the right-hand pane.
5. Just scroll down to find the “Adobe Acrobat Reader CC” app.
6. Once you have found it, tap on the three-dot menu and tap “Uninstall“.
6. You will see an additional prompt to assert your action. Tap “Uninstall” in the prompt.
Just wait for the Adobe Acrobat Reader to be uninstalled from your system.
Once it is done, you can easily reinstall Adobe Reader DC again.


