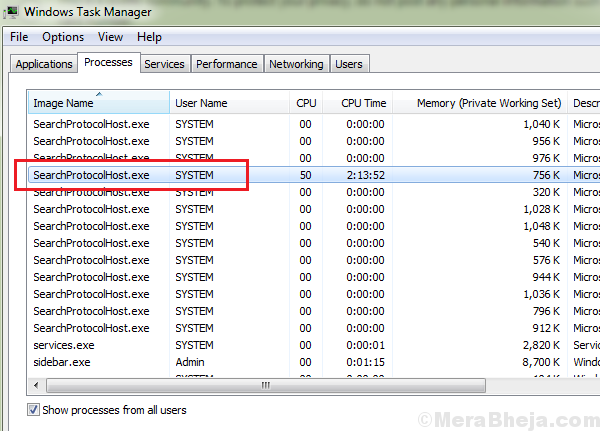
High CPU usage slows down the system. Mostly, the reason behind high CPU usage is a process which occupies a lot of system resources. One such case is when the process SearchProtocolHost.exe ( microsoft windows search indexer ) is causing high CPU usage.
All about SearchProtocolHost.exe
SearchProtocolHost.exe is a system process which is essential for running Windows Search Indexer. Search indexer helps in producing faster search results on your system. Now, what happens when you open task manager by pressing CTRL + SHIFT + Esc keys and locating SearchProtocolHost.exe and right click and end this process. There is one more process SearchIndexer.exe which depends upon SearchProtocolHost.exe to render search results on the system and it will restart this process once again. Most of the times, the problem fades away on its own, but if you are stuck with high cpu usage of this process, read on to know solution for this problem.
High CPU usage due to SearchProtocolHost.exe
The SearchProtocolHost.exe is the process name for the Windows Search Indexer. It helps keep a record of all files on the system to make the search process better.
Cause
The cause behind the SearchProtocolHost.exe process causing high CPU usage is when the Indexer is unable to find certain files on the system. Thus, it pushes the process hard because of which it utilizes a lot of system resources.
Preliminary steps
1] Update Windows: When we update Windows, it would update the lists in the Indexer from the network, just in case any newly launched program was missed. Here’s the procedure to update Windows.
2] Uninstall any recently installed suspicious software.
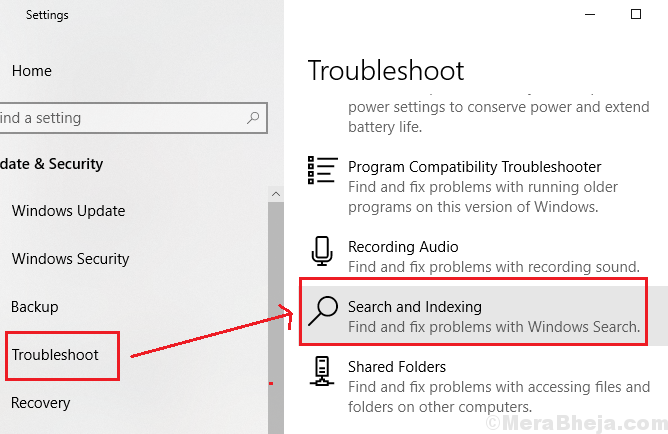
3] Run the Search and Indexing Troubleshooter. Settings >> Updates and Security >> Troubleshoot and select the Search and Indexing Troubleshooter.
Thereafter, proceed with the following solutions:
Solution 1] Change Indexing options
1] Search for Indexing options in the Windows search bar and open the option.
2] Click on Modify. It will show the list of Indexed locations.

3] Select Show all locations. It would need Administrator permissions.

4] Uncheck the larger locations (eg. C: if it is your system drive, etc.).
5] Click on OK to save the settings.
6] Restart your system.
Check if it helps ease the Disk utilization.
Solution 2] Run an SFC scan
An SFC scan helps identify missing files and replaces them if necessary. Here’s the procedure for an SFC scan.
Solution 3] Disable Windows search
While we all know how important Windows search is, but if we are unable to use the system because of the process, we would have to disable Windows search and use alternate options to find locations.
1] Press Win + R to open the Run window and type the command services.msc. Press Enter to open the Service Manager window.
2] Locate the Windows Search process. Right-click on it and select Properties.
3] Set the Startup type as disable and click on Stop to stop the process.
4] Click on Apply and them on OK to save the settings.
5] Restart the system and check if it helps resolve the issue.


