NVIDIA Control Panel is an advanced NVIDIA graphics management tool that lets you take control of several settings such as graphics settings, and custom graphics settings for individual apps. Wondering how to download and install the latest version of the NVIDIA Control Panel? Follow these easy steps to get the NVIDIA Control Panel on your system.
There are two ways you can install the NVIDIA Control Panel in Windows.
Way 1 – Using the web
Way 2 – From MS Store
Way 1 – Using the web
The regular way is to use the web installer which you can directly get from the NVIDIA website.
In this process, you have to download the latest NVIDIA driver installer and run it on the system. This way, the installer will recognize the missing Control Panel and install it alongside.
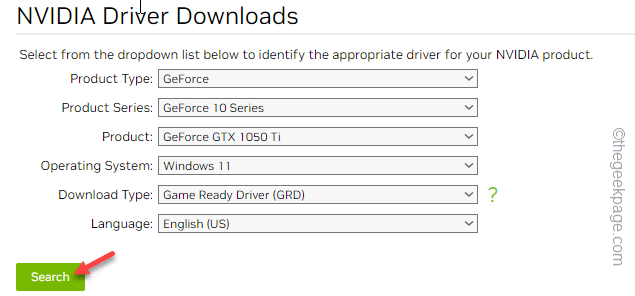
1. Go to the NVIDIA Driver download page.
2. There, specify the driver specifications in the list. Once you are done, tap “Download” to get the latest driver for your GPU.
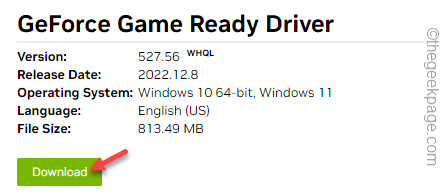
3. Then, tap “Download” to download the latest driver package.
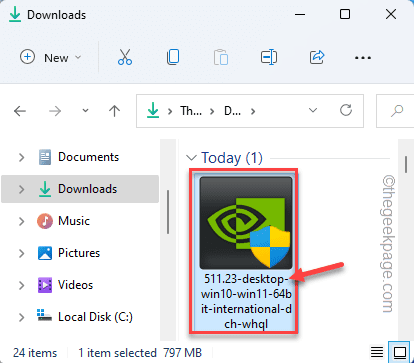
4. Now, go to the download location and look for the installer.
5. Simply, double-tap on the installer to launch it.
It will extract the driver. So, you have to wait for a while.
6. When you see the NVIDIA Graphics Driver window, select the “NVIDIA Graphics Driver and GeForce Experience“.
7. After this, click on the “AGREE AND CONTINUE” option to proceed.
8. On the Installation options page, you have to select the “Custom (Advanced)” option.
9. Then, click “NEXT” to go to the next and final step.
10. Make sure to tick every box here. This way, the NVIDIA installer will install everything and update the GPU.
11. Next, make sure that you tick the “Perform a clean installation” box on the installer page.
12. Finally, tap on “Next“.
Finally, when the installation is done, search and you can find the NVIDIA Control panel again.
Way 2 – Download from the Store
The easiest way to get the NVIDIA Control Panel app is to download it from Microsoft Store. This works on both Windows 10 and Windows 11 devices.
1. Open Store.
2. You can directly do that from the Store icon on the taskbar.
3. When the Store opens up, type “nvidia control panel” in the search box.
4. Then, tap “Nvidia Control Panel” in the drop-down menu.
5. Tap “Install” to install Nvidia Control Panel on your system.
Wait until it is installed on the system. Now, you can easily use the NVIDIA Control Panel.
Additional NOTE – It is quite ridiculous that NVIDIA doesn’t have a dedicated way to download and install the NVIDIA Control Panel. Though there are some websites that have the installer, where you can just download and install it on your system. But, as these are not official websites, you shouldn’t download or install anything. These may lead to malware infection or other kinds of virus attacks on your system.


