Clean installation, as the name suggests, defines deleting everything before performing the installation process. In the case of the Windows 11 installation process, we suggest users should opt for a clean installation. In that way, users have to format the drives to clean up all the existing files. This will let Windows 11 complete the process without any bugs, glitches due to interference with the existing system files.
NOTE –
Back up all of your important files before you proceed with a clean installation.
Download and use the Media Creation Tool
The Media Creation Tool is a very useful tool to clean install Windows. Follow these steps to create a Media Creation Tool and then use it to install the Windows safely and securely.
Step 1 – Download the Windows 11 installation media
At first, follow these steps to download the MCT.
1. At first, go to the Microsoft Software Download section.
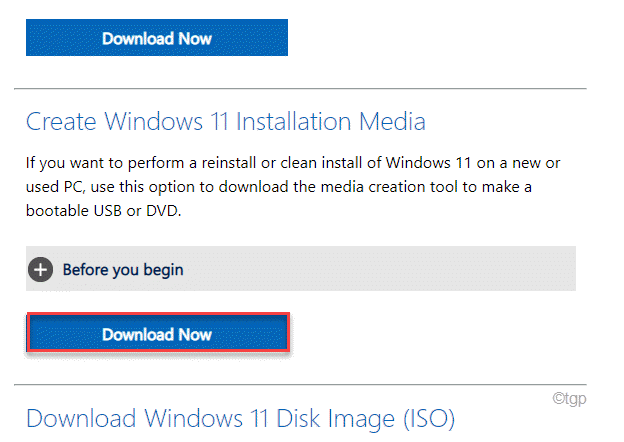
2. Now, scroll down to the ‘Create Windows 11 Installation Media’.
3. Then, tap on the “Download Now“.

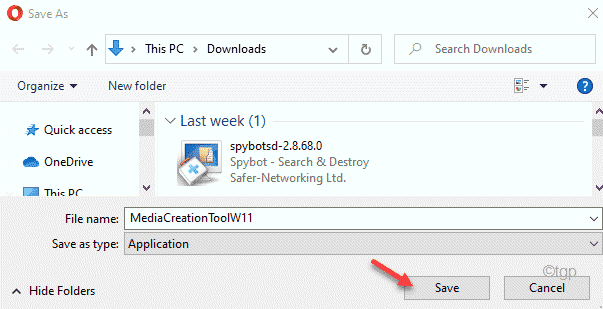
4. Now, choose a location to save the MCT.
5. Then, tap on “Save” to save the MCT file.

Once the downloading process is complete, close the browser.
Step 2 – Download the Windows 11 ISO
Now, you can download the Windows 11 ISO file using the MCT.
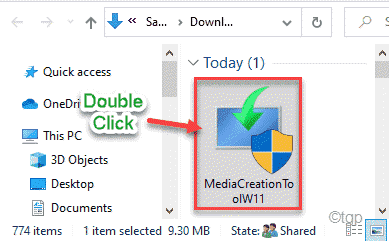
1. After closing the browser, open the File Explorer.
2. Then, double-click on the “MediaCreationToolW11” file.

2. Once the Windows 11 Setup opens up, click on “Accept” to accept the terms and conditions.

3. Now, select your preferred OS language and click on “Next“.

4. Now, you will have two options to download Windows 11. Select the “ISO file“.
5. Then, tap on “Next” to proceed further.

Windows Setup will download the Windows 11 ISO on your computer.

It will take a while to download Windows 11.
5. Once the download has finished, you will see the location of the downloaded ISO file.
6. Tap on that location of the ISO file to directly mount the ISO file and open it in File Explorer.

Step 3 – Install Windows using the ISO
Now, using the downloaded ISO, you can easily install Windows 11.
1. Windows 11 ISO will be opened in File Explorer.
2. Now, double click on the “Setup” to run it.

3. Then, you have to click on “Change how Setup downloads updates“.

4. Now, check the option “Not right now” from the available options.
5. Then, click on “Next“.

After this Windows 11 installer is going to check whether your device has met the hardware requirements of Windows 11.
7. Upon successful scan, you will see the EULA page. Tap on “Accept” to accept the agreement.

8. Finally, you will land on the ‘Ready to install’ page.
9. Now, here you will have to click on the “Change what to keep”.

10. Now, you will three distinct options.
- Keep personal files and apps – All the files will be there.
- Keep personal files only – This will keep your personal files but delete the settings and any other unnecessary stuff.
- Nothing – It will delete all the files, offering a fresh Windows 11 install.
Select the “Nothing” option to erase everything on the drive before install.
11. Then, click on “Next” to proceed further.

12. At the last step, click on “Install” to install Windows 11 on your computer.

That’s it! Windows will restart your computer and start to install Windows 11. Just follow the on-screen instructions to complete the process.