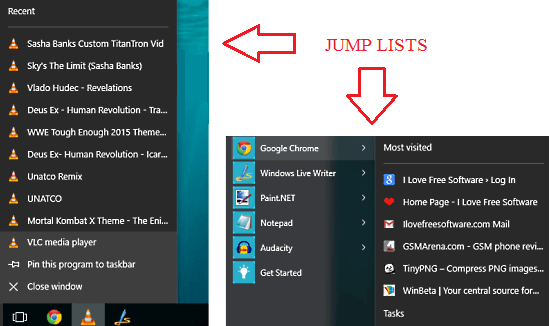
A jump list means those documents you have opened recently. When you right-click a pinned item in the taskbar, it will show up. That means when it is checked, Windows will remember which documents have been opened, so that they can be displayed. In the following screenshot, I have shown an example for a jump list on Windows 10.

Frequently used items always find a place on windows 10 jump lists. Indeed they come in handy, as they provide quick accesses to the items frequently accessed. But jump lists often end up overflowing with items. These items include junk items as well as useful items. So it is very important to clear up jump lists every now and then to give your system an ordered look. But Windows 10 doesnt provide a ready-made approach to clear off your jump lists all at once. Of course, you can delete items one by one. But who has enough time to go through every single item? This article is aimed at providing you with a means to clear off the entire jump list from Windows 10 with a very few number of steps.
Also read: – How to Clear the Jump List in Windows 10
How to Delete Jump Lists All at Once on Windows 10
STEP 1
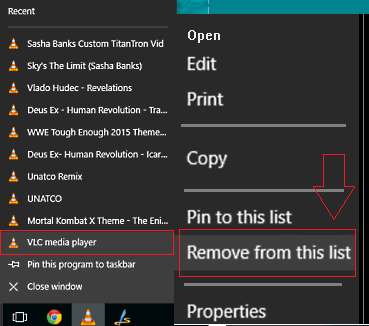
- If you want, you can clear off the items on jump list one by one. This is explained in this step. Inorder to clear a single item from the jump list, you just need to right click on the item. Upon right click, a new window opens up which has an option named Remove from this list. Simply click on it.
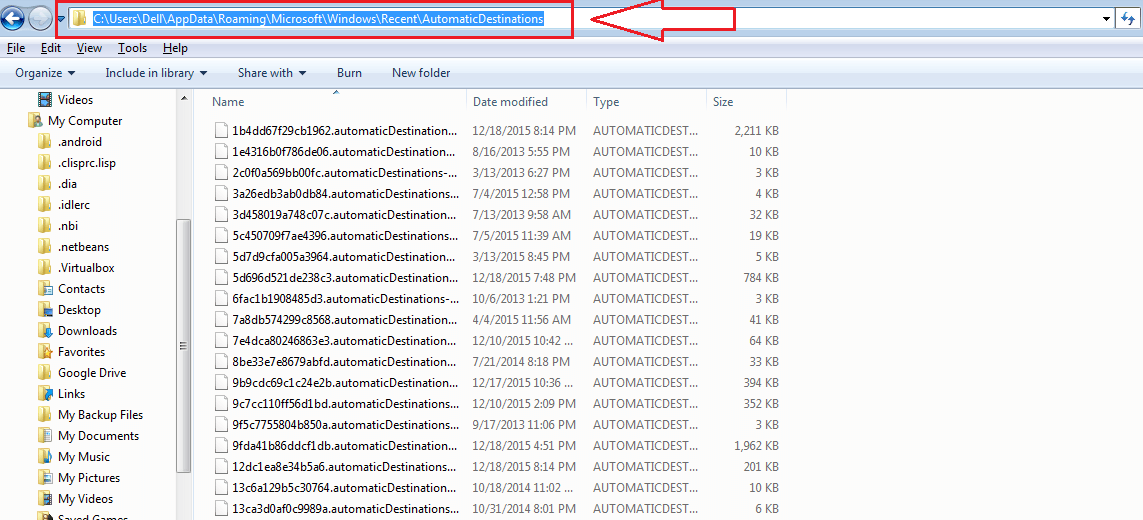
- In this step, we are going to the location where the jump list entries are actually saved. We are going to make a direct delete operation on these entries inorder to delete the jump lists all at once. For that, you need to navigate to the specific location. This can be done easily by copying the following paths one by one on the File Explorer. Once you click Enter, you will be able to see the jump list entries in the encrypted form.
%APPDATA%\Microsoft\Windows\Recent\AutomaticDestinations
%APPDATA%\Microsoft\Windows\Recent\CustomDestinations
- Now you need to select all the entries. This can be done by pressing ctrl and A keys together. Once all the items are selected, simply press on delete button and when asked for confirmation, click on Yes.
Now if you move on to your jump list, you will see that it’s empty. Yes, you have successfully cleared off all the junks on your jump lists as easy as that. Hope the article was found useful. In the following screenshot, jump list after it has been cleared is shown.


