There could be certain applications or games that are not available in your country, but could be available in some other country. In that case, you might want to change your Microsoft Store country settings to get that application or game.
When you setup your windows, you get asked to setup your country as well. This is the same country that gets set for your Microsoft Store too. So, if you change your system location to your preferred country, then that change would reflect in your Microsoft Store as well.
Let’s say the country that’s now set in your Microsoft Store is United States, with currency in dollars. Now let’s say you want to change it to India, with currency INR. This article explains you how you can do it in your Windows 11 with some very easy steps.
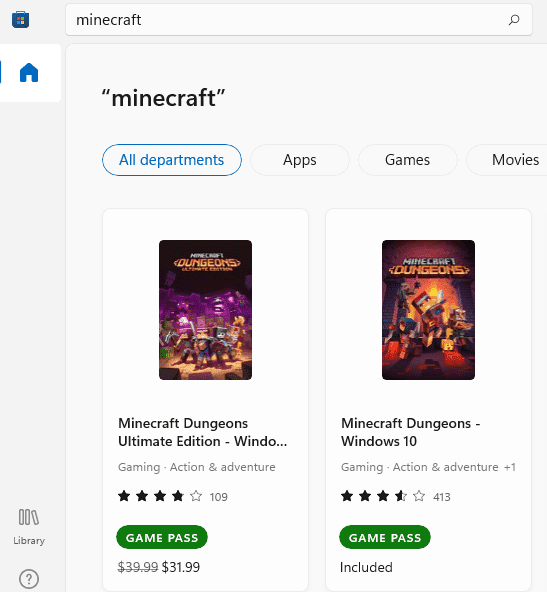
Before:
Step 1: Click on the Start icon.
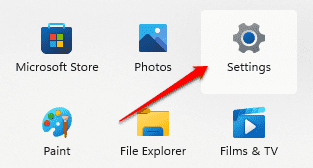
Step 2: As next, click on the Settings icon.
Step 3: In the newly opened Settings window,
Click on Time & language option in the left window pane.
In the right window pane, scroll down and find the section named Country or region. Click on the drop down arrow associated with it.
Step 4: From the drop-down menu, click on the target country. In my case, I have taken India as an example.
Now, launch Microsoft Store. If it was already open, just close it and open again. Your country should now be changed to your country of preference. You can confirm it by searching for any paid app and by looking for its currency symbol.
After:
Hope this method worked for you.


