Scanning document has become the integral part of the digitalization of documents. If you have a Samsung phone at your hands, there are multiple ways of scanning the documents at your hand using your Samsung. You can easily scan a document using the native Camera app on your Samsung phone.
Way 1 – Using your Camera
[Only for the Samsung A and S series phones]
If you are a Samsung premium user, you can use the native Camera app to directly scan the documents.
Step 1 – Open the Camera app.
Step 2 – Click the ⚙️ to open the Camera Settings.
Step 3 – In the Intelligent features prompt, tap the “Scene optimizer” to open that up.
Step 4 – On the next page, turn the “Scan documents” to “On” mode.
Come back to the Camera app.
Step 5 – Now use the Camera app to scan a test document. The phone camera will automatically scan the document.
Step 6 – You will notice a boundary has appeared covering the sides of the document. Click “Tap to scan” to scan the document.
Step 7 – Additionally, you can tap the image on the left-hand side to adjust the border manually. Finally, when you are satisfied with the scanned image, tap “Save“.
This way, without using any third-party app, you can easily scan anything.
Way 2 – Using the Google Drive
Google Drive has an inbuilt function that you may use to scan the documents.
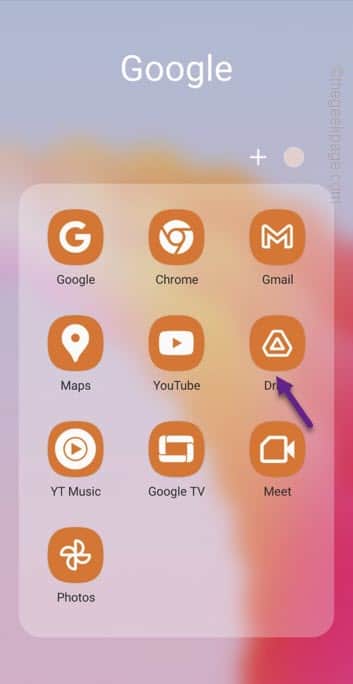
Step 1 – Open the Google folder on your Home screen. Launch the “Google Drive” app.
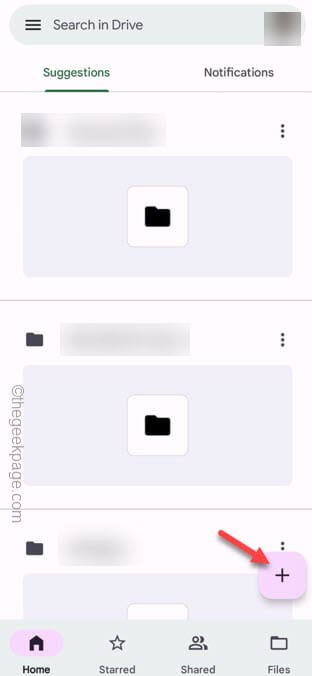
Step 2 – Next, tap the “+” button to start a file scan.
Step 3 – Click “Scan” on the prompt.
Step 4 – Scan the document or anything you want. On the results page, tap “OK” to save the scanned image. Or, you can use the “Retry” image to retake the scan.
This way, you can easily scan the images using the Drive app, which comes preinstalled.
Way 3 – Using Adobe Scan
The final option is a third-party application that you can use to scan your files. Using Adobe Scan can easily scan your files.
Step 1 – Install the Adobe Scan from the Play Store.
Step 2 – Open the app after installing.
Step 3 – Sign in to it using any of the preferred way. When the camera opens up in Adobe Scan, put it on the document you want to scan.
Step 4 – Tap the document once to star the scanning process.
A rectangle shape will develop over scanned-to-be image. You don’t have to do anything. Adobe Scan will automatically recognize the edges of the document and scan it.
Step 5 – Now, on the results scanned image page, you can manually adjust the image using the four corners of the rectangle.
Apart from this, there are other tons of option so that you can tweak the scanned image any way you prefer.
Step 6 – Tap “Save PDF” to save the scanned image on your phone as PDF.
That’s it! You can very easily scan the document using the Adobe Scan on your phone.


