Want to give the front page of your school project an exciting look? There is nothing like a good, elegant border on the front page of the workbook to make it standout from the other submissions. But, standard single line borders in Microsoft Word has become quite obvious and boring. So, we have shown the steps to create and use a custom border in your Microsoft Word document.
How to make a custom border in Microsoft Word
It is quite easy to create a custom border. But, you are going to need a border.
STEP 1 – Download a custom border
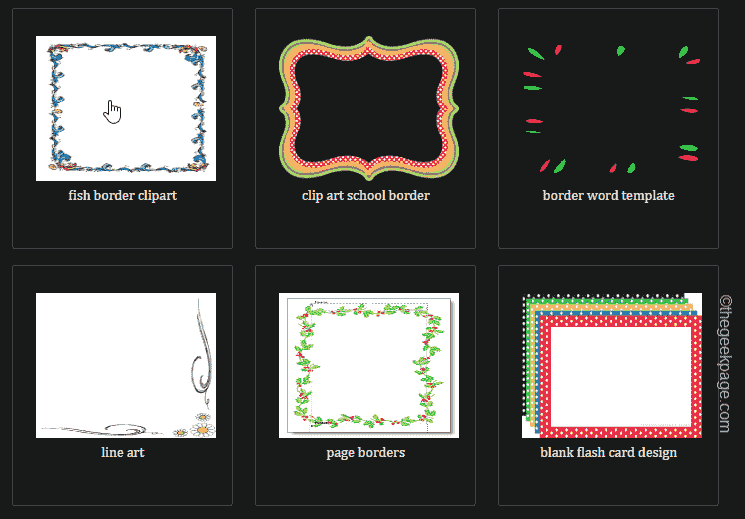
There are a ton of free borders available on the internet. We have downloaded one such border.
Step 1 – Search for custom borders on the internet. Or, you can go to the Clipart library.
Step 2 – Just find a border that you like and download that.
You may close the browser. But, remember the location where you have downloaded the border.
STEP 2 – Create the custom border
Now as you have got the border, follow these steps to use it on your workbook.
Step 1 – Open the Microsoft Word and load a blank page in your workbook.
Step 2 – In that blank page, go to the “Design” tab.
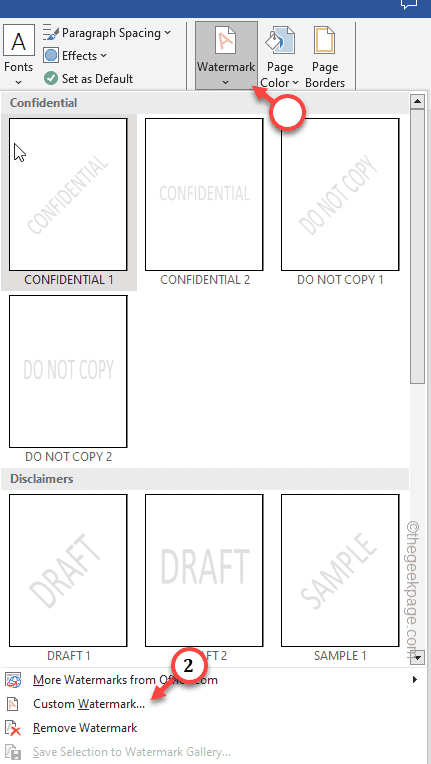
Step 3 – Then, tap the “Watermark” to open that up in the design menu.
Step 4 – Next, choose the “Custom Watermark…” to create a custom watermark.
Step 5 – In the Printed Watermark panel, choose the “Picture watermark” option.
Step 6 – Then, tap “Select Picture” to open that up.
Step 7 – When the Insert Pictures page opens up, tap “From a file” to open that up.
Step 8 – Go through your files and find out the downloaded border.
Step 9 – Select the border and tap “Insert” to insert the border into your document.
Step 10 – After you have inserted the border, uncheck the “Washout” sign.
Step 11 – Then, tap “Apply” to apply the border.
Now, you can take a look at how the border looks on the page. If you are not satisfied you can use a different border as well.
Step 12 – Finally, tap “Close” to close it.
Step 13 – Now, go to the top of the page, where the border haven’t reached yet. Double-click there twice and the Headers/Footers box should show up.
Step 14 – Now, you have to drag the custom border to cover the whole screen. Just click the middle of the border to select it.
Step 15 – You shall see the four dots in the corner of the border. Select one corner and drag it to the corner to cover the whole page.
Step 16 – Adjust the corners to make it look even.
Step 17 – It should look something like this.
Step 18 – Now, you have to select the border and press the Ctrl+C keys together to copy that.
Step 19 – Finally, tap “Close Header and Footer” to close the Header/Footer.
As soon as you close the Header/Footer, the border should be appearing faded/greyed out.
Step 20 – Just press the Ctrl+V to paste the border.
Step 21 – Now, adjust the sides of the border to get it across the page.
That’s it! You now have the customized border for your project.
NOTE – If you can’t place your cursor in the middle of the border, just hit once and you should get to see the cursor again.


