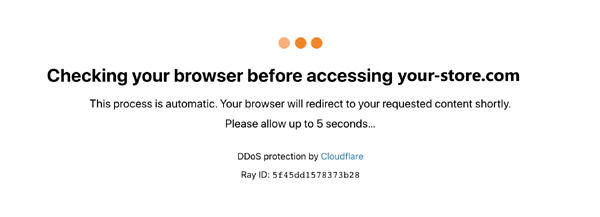
You might have noticed that when you visit certain websites, the browser shows a message saying-
Checking Your Browser before Accessing <Name of the Website>
This process is automatic. Your browser will redirect to your requested content shortly.
Please allow up to seconds.

Now, the browser keeps refreshing itself after every five seconds and shows the same message repeatedly. This happens when the website that you are visiting has the Cloud fare protection turned on.
Cloud fare protection is a web security feature that enables the users visiting the site to prove their identity. This is done to protect the website from a DDoS attack. DDoS[Distributed Denial of Service] is an attack where the hacker sends an extremely huge number of requests to a website, so that the website becomes busy in processing these dummy requests, and thus denying the service to prompt requests. With Cloudflare protection enabled, the number of requests per second is limited. When the website receives requests of more than the limited number, this message is shown.
However, when it is struck for a long time, it could be because of the following reasons –
- Some Plug-in is prohibiting from proving the user’s identity. Certain Privacy Protection Plugins do this.
- The Time and date settings in the system do not match that of the website.
In any case, if you have been seeing this issue, we have compiled a list of fixes that might help you solve the issue.
Fix 1: Synchronize your System’s Clock with your Time Zone
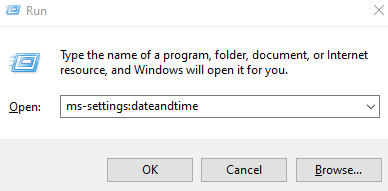
Step 1: Open the Run Dialog using the keyboard Shortcut Win+R
Step 2: Type the command ms-settings:dateandtime and hit Enter

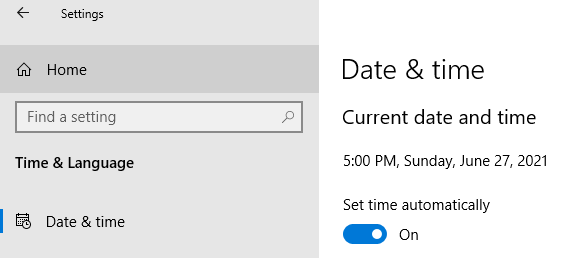
Step 3: In the appearing window, toggle the button for the Set time automatically option

Step 4: Once the settings are in place, refresh the webpage that is struck and check if you are able to access the website.
Fix 2: Disable the Plugins that protect Privacy
Step 1: Open the browser.
NOTE: We are using Google Chrome for demonstrating. If you are using any other browser, it should be similar.
Step 2: In the top address bar, copy-paste the below command and hit Enter
chrome://extensions/
Step 3: On the appearing page, disable the plugins one at a time by toggling the button. Refer to the below screenshot for details.

Step 4: Now, Refresh the webpage that is struck and check if the issue resolves.
Fix 3: Try using some other Web Browser
If none of the above fixes work, try accessing the website using some other Web browsers.
That’s All.
We hope this article has been informative. Thank you for Reading
We will be glad if you could comment and let us know the fix that helped you solve the issue.