Wondering how to set a Password and Expiration Date to online excel? Here in this article, you will get to know about it. Creating a password for excel becomes necessary especially when you are working with data or preparing any important reports that need to be shared across. Let us see how can we set the Password and Expiration Date when using Online Excel.
Note: Below mentioned approach works for the one who is having the Microsoft 365 subscription.
Set the Expiration Date for Online Excel
Step 1: Open Online Excel in your browser. To do this, just type Online Excel in your browser window and click on the link obtained from the obtained results.
Step 2: Open the file which you want to share.
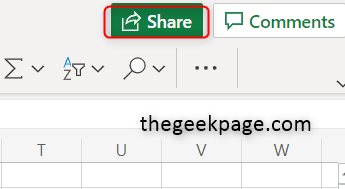
Step 3: Click on the Share button which is present at the top right corner

Step 4: There appears a pop window on the screen. Click on Anyone with the link can edit option.

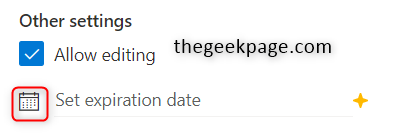
Step 5: Click on Set Expiration Date and here you can set the required date. Click on Apply button.

Once the above steps are completed, your file now has the expiration date. So whenever you share the file with others, it can only be accessed within the specified date.
Set the Password for Online Excel
Step 1: Open Online Excel in your browser. To do this, just type Online Excel in your browser window and click on the link obtained from the obtained results.
Step 2: Open the file which you want to share.
Step 3: Click on the Share button which is at the top right corner.

Step 4: There appears a pop window on the screen. Click on Anyone with the link can edit option.

Step 5: Click on Set Password and type the Password you wish to have. It is always recommended to give a strong password. Click on Apply button to save the changes.

That’s it. Isn’t it simple and easy to set the password and expiration date to your online excel? Hope this article is useful to you. Thanks for reading. Happy reading!!