The Xbox console has a great collection of games and like its rival, the Sony Playstation has come a long way since its introduction. Microsoft has also introduced the recent feature of remote gameplay for Xbox on your mobile or your PC through Microsoft cloud gaming which could be the future of the gaming industry. Did you know you can also connect the Xbox controller to your PC and continue your gaming uninterrupted? You can also play your regular PC games with the Xbox controller instead of the keyboard and mouse. This article will explore the different methods on how to connect the Xbox controller to your PC either for gaming or regular usage.
Method 1: Connecting Controller to PC via Bluetooth
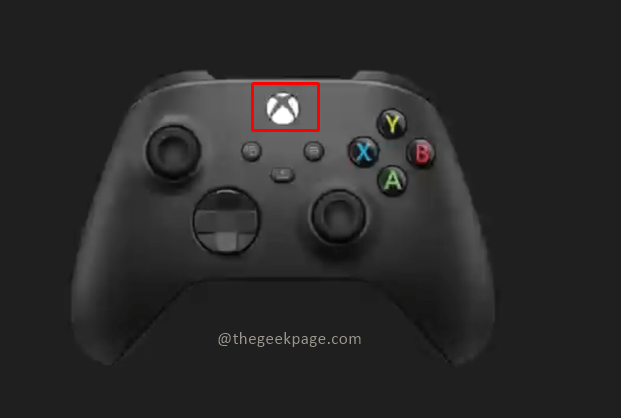
Step 1: Press the Xbox button on your controller for a few seconds.

Note: Once it is turned on, a light will be blinking on the Xbox button.
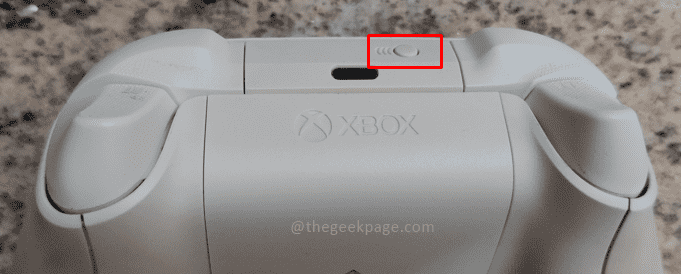
Step 2: Now click on the sync button next to the USB C type port to search for Bluetooth connections.

Note: you will see the light blinking faster now which shows the Controller is seeking an active Bluetooth connection.
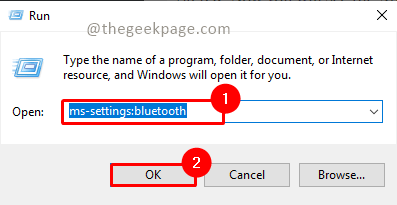
Step 3: Now go to your Computer and press Win + R and type ms-settings:bluetooth and press OK.

Step 4: Ensure your Bluetooth is turned on.
Note:
1. You will see the existing paired connections available for the Bluetooth connection.

2. You can see your device name when Bluetooth is On. It will be displayed as Now discoverable as “Device Name”.
Step 5: Click on Add Bluetooth or other devices to connect the controller to the laptop.

Step 6: In the Add a Device menu, click on Everything else.

Note: You can also select the Bluetooth option and try to connect the controller.
Step 7: Now you will see the Xbox controller name appear on the screen. Click on it to connect.

Note: This may take a few seconds to a few minutes. You will notice that the Xbox controller has stopped blinking once it is connected to your PC.
Now you can navigate the Windows screen using your Xbox controller.
Method 2: Connecting Controller to PC through cables
The most important thing required to connect the controller to the PC is a USB Type C cable.
Step 1: Plug one end of the cable into the controller and the other end into the USB port on your PC.
Note: You will receive a small vibration on the controller and the Xbox button light will be on. This means the controller is connected to the PC. Windows will automatically detect your Xbox controller and allow you to navigate the Windows screen.
Step 2: If the connection is not automatically detected, press the Xbox button on your controller once or remove the connection and replug your device.
Now you are good to go and play your favorite games like Halo, Fortnite, or Forza on your PC or for regular usage. Please do tell us in the comments section which method you prefer to connect the Xbox controller to your PC.