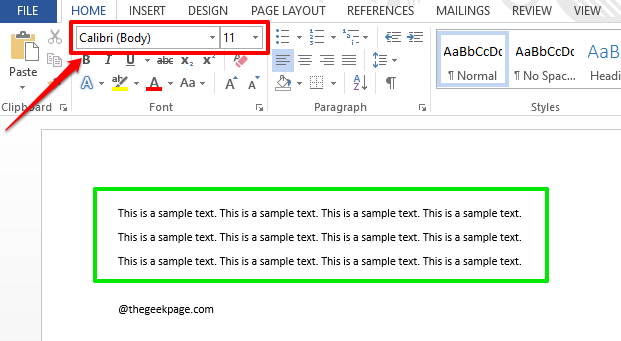
So when you open your Word every time, you are greeted by the default font, which is Calibri (Body) with the font size 11. Obviously, this has become the standard font and size because Microsoft Word itself has set this font as its default font. But not everyone might be a fan of conventions. You might fancy some other font becoming your default font and it’s totally justified.
Here in this article, we have explained in detail how you can change the default font of Microsoft Word. You have the option to apply this change across all the new documents that you are going to create. Remember, the old documents you have already created and saved, are not going to change. But after changing the default font, if you launch Word, you can see that the default font has changed even for the new document.
Read on, to learn how you can master this super cool, but simple and quick Word trick. Hope you enjoy reading!
How to Change the Default Font
Step 1: When you launch Microsoft Word, by default, the font is Calibri (Body) and the font size is 11. Whenever you type something in Word, it automatically adapts these font properties as shown in the screenshot below.
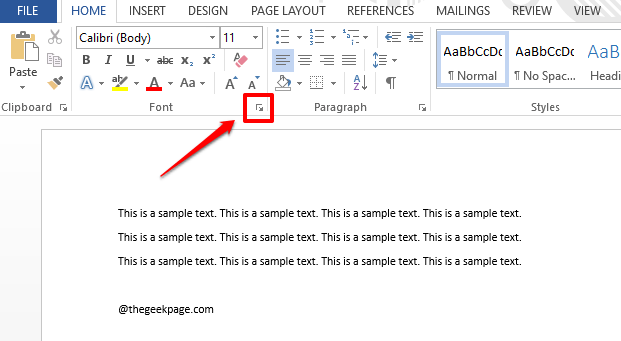
Step 2: Now to change the default font property, click on the font launcher icon that’s present under the Font section in the HOME tab.
Step 3: When the Font settings open up, click on the Font tab at the top.
Now, choose a font that you want to be set as default, from the Font dropdown menu.
You can also choose a style from the Font Style dropdown menu.
From the Size dropdown menu, choose size as well, to complete your font properties set.
Once you are all done, hit the Set As Default button at the bottom part of the window.
Step 4: Now you will get a dialog box asking whether you want to apply the changes only to the current document or if you want to apply the changes to all the documents based on the Normal.dotm template. Choose the radio button according to your preference.
Since I want the default font to be changed in all my future documents, I have clicked on the radio button corresponding to the option All documents based on the Normal.dotm template.
Hit the OK button to proceed.
Step 5: If you now look at your Word document, you can see that the default font settings have changed.
Step 6: Try opening a new Word document, there also you will see that the default font settings have changed and if you type something, the new font settings will be in effect. Enjoy!
Please tell us in the comments section whether you could successfully change the default font settings in your Word, following the steps in our article.
Stay tuned for more amazing Word tricks and for a lot more!


