You may see an error message like this “There was a problem resetting your pc. No changes were made.” on your computer when you try to reset it. If you are indeed receiving this error message, all you have to do is follow these steps on your computer minutely and the problem will be solved pretty easily.
Fix-1 Disable and Re-enable Windows RE-
Disabling and re-enabling Windows Recovery Environment will solve this issue for most of the users.
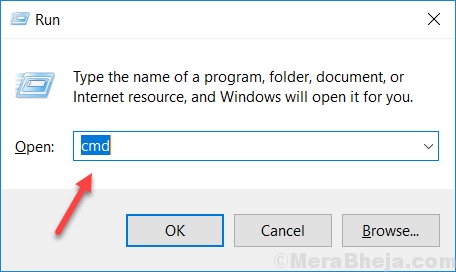
1. Press Windows key+R to launch Run window.
2. Now, type “cmd” and press Ctrl+Shift+Enter together to open Command Prompt with Administrative rights.

3. You have to type this simple command in the terminal and press ‘Enter‘.
reagentc /disable

Windows Recovery Environment is temporarily disabled on your computer.
4. To enable Windows RE, simply copy-paste this command in Command Prompt and hit Enter.
reagentc /enable

Wait for a while for the command to be executed.
Close the Command Prompt panel.
5. Press Windows key+I to open Settings.
6. Now, scroll down and click on “Update & Security“.

7. Now, under Update & Security settings, click on “Recovery” on the left pane.
8. On the right-hand side, under “Reset this PC“, click on “Get started“.

You will be able to reset your computer without any errors.
Again try to reset your computer and check if this works. Otherwise, go for the next fix.
Fix-2 Create a new registry backup-
NOTE–
As your computer didn’t reset correctly, the Automatic Repair window should open automatically.
But, in case if the Automatic Repair doesn’t open automatically, you have to open Automatic Repair window manually-
1. Make sure your computer is turned ‘Off”.
2. Then, press the power key to start the computer. The second you see the computer is booting up (the device manufacturer’s name becomes visible), press-hold the power button again to force shutdown the device.
3. Start your device again and force shutdown it again.
For the third time, when the computer is booting up, let it startup normally. Wait for a while and you will see the Automatic Repair window has appeared.

4. Your computer will be booted into Windows RE mode.
5. This will open up the ‘Choose an option‘ window. Simply click on “Troubleshoot“.

6. In the Troubleshooting window, click on “Advanced options“.

7. In the Advanced options window, click on “Command Prompt“.

8. In Command prompt window, you have to navigate to the drive where Windows is installed on your computer. (For us it is “C:” drive).
To do so, simply put the drive letter of the drive where Windows is installed (For us it is “C:” drive) in Command Prompt window and then hit Enter.
You can also verify the Windows installation directory by entering the “dir” command in Command Prompt and pressing Enter in Command Prompt window.

6. Now, in Command Prompt window, copy-paste this commands one-by-one and then hit Enter after each of them to create a new backup directory.
cd \windows\system32\config
md backup

7. To copy the backup directory, again copy-paste this command in Command Prompt window and hit Enter to execute it.
copy *.* backup

8. Now, copy-paste these below mentioned commands and hit Enter after each of them to copy registry backup from Regback directory.
cd regback
copy *.*..

9. Now, when you are prompted “Overwrite..\DEFAULT? (Yes/No/All): ” request, simply press “A” from your keyboard to overwrite the files of the destination.
10. Close Command Prompt window.
11. Coming back to Choose an option setting, click on “Continue” to continue to your Windows 10.

Now, check if this helps or not.
Fix-3 Rename Software hive-
Renaming the software hive will be automatically reset your computer.
1. Press Windows Icon+I to open the Settings window.
2. Now, click on “Update and Security“.

3. Now, scroll down through the left side and click on “Recovery“.
4. Then, under “Advanced Startup” section, click on “Restart Now“.

5. When you see that the Choose an option screen has appeared, click on “Troubleshoot“.

6. In the Troubleshooting window, click on “Advanced options“.

7. Then, click on “Command Prompt“.

6. To rename the system and the software folder, copy these commands and paste in the terminal and hit Enter to execute these commands sequentially.
cd %windir%\system32\config
ren system system.001
ren software software.001

You will be taken to the Windows Recovery Environment screen, click on “Continue” to continue to Windows 10.

Your computer will be reset for sure.