In MS Word, Automatic Numbering is a feature which is by default enabled in the application for the convenience of users. Automatic numbering allows users to automatically add the serial numbers to the next line after pressing the Enter key , for example:- making a list of things for groceries or anything. But sometimes what happens is some users might have to modify the paragraphs as per their need and may not want automatic numbering. For this, you have to disable the Automatic numbering in MS word. Let us see how this can be done on your Windows 11 PC.
Steps to follow to Stop Automatic Numbering in MS Word
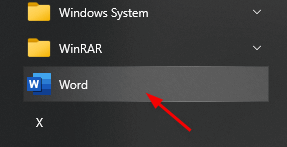
Step 1: First, Open the MS word by clicking Windows Logo and scroll down the program list given and look for Word application as shown below.

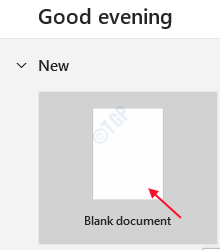
Step 2: Next, Click on Blank document to start with.

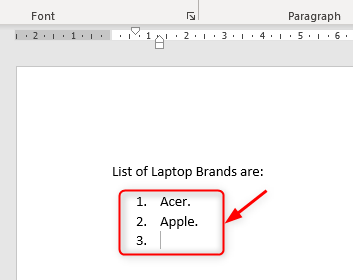
Step 3: In the below screenshot, you can see there is a list of laptop brands which are entered one by one.
After pressing Enter key, it automatically numbers the next line as shown.

Step 4: In this step, go to File.

Then, Click on Options as shown below.

Step 5: Next, Click on “Proofing” on the left side and then click on “AutoCorrect Options“.

Step 6: Once the AutoCorrect Options window opens, Click on AutoFormat As You Type tab.
Next go to Apply as you type section below, uncheck the Automatic numbered lists to stop the automatic numbering.
You can also uncheck Automatic bulleted lists if you want to stop automatic bulleted lists to appear.

Then, at last Click OK.
Step 7: Now Try again writing the list of things you want without automatic numbering on hitting the Enter key as shown in the below picture.

Hope this article was informative.
Thank you for reading. Please leave comments below.