When many audio output devices are connected to your system, it might be confusing while selecting the sound device on your system if all have similar names. Generally, when you connect a audio device to a system, it displays the name of the device set by the manufacturer. It would be much of a convenience if name of the sound device can be changed. In this article, we are going to guide you on how to change name of sound devices on windows 11 system.
How to Change Name of Sound Devices in Windows 11
Step 1: Open Settings app
Press Win + I keys together on your keyboard.
Step 2: In the Settings app
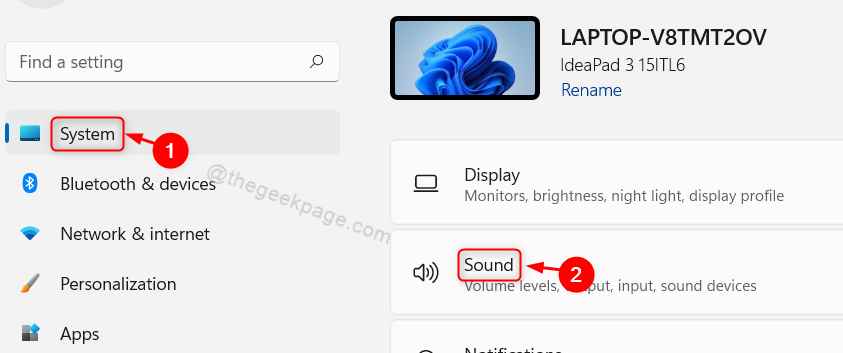
Click on System in the left pane.
Then, Click Sound in the right side of the window as shown below.

Step 3: In the Sound page
You can see there are sound devices connected to your system.
Click on the Speaker whose name you wish to change as shown in the below image.

Step 4: In the Sound device’s Properties page
Click on Rename button under Sound device as shown in the picture.

Step 5: A small rename window opens
Click on the Sound device name and change it to new name.
Then, Click on Rename button as shown in the below picture.

Step 6: Now you can observe that the Sound device name was changed from Speakers to Laptop Speakers.

Close the settings window.
That’s all guys!
Hope this article was informative and helpful. Please leave comments below for any questions.
Thank you for reading!