Want to control 4 four Windows devices at the same time using the same border less mouse? The borderless mouse allows the mouse device to be used on the multiple screens at the same time. There is a tool called PowerToys that you can use to implement this Mouse without Borders that works as the name suggests, a mouse that operates without any restriction on the display limits.
How to use the Mouse without Borders in Windows 11, 10
Windows PowerToys offers an extended list of features for most advanced set of Windows users. One of these features is the Mouse without borders. This will let you use the same mouse on multiple computers, making the troublesome file tranfer process to simple drag & drop operation with a mouse.
Steps for the host device
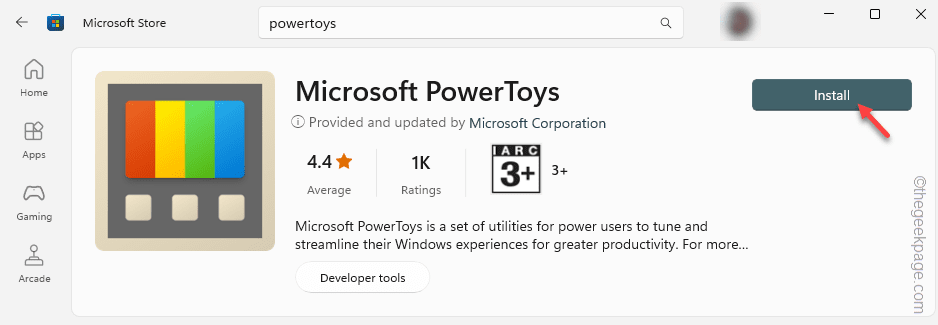
Step 1 – Go to the Windows PowerToys in the Microsoft Store.
Step 2 – Once you are there, tap “Install” to install the PowerToys on your system.
Wait until the PowerToys gets installed on the device.
Step 3 – Once you have installed PowerToys, open that up from the Start menu.
Step 4 – On the PowerToys page, you will find the “Mouse without Borders” on the left pane.
Step 5 – Click that to open it up.
Step 6 – A separate Mouse without Borders panel should open up. Tap “Open Settings” to access that.
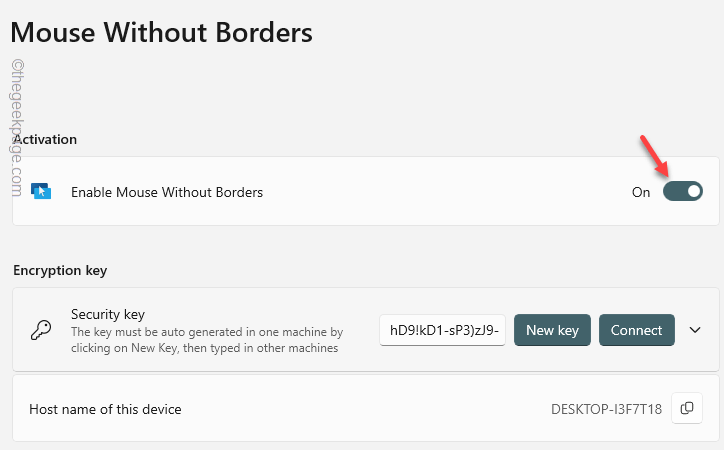
Step 7 – On the Mouse Without Borders pane, switch the “Enable Mouse Without Borders” to “On“.
After this, scroll down to find the Encryption key section.
Step 8 – Tap “New key” to create a new security key for both machines.
As soon as the new key gets generated on your system, note it down.
Step 9 – Following the same way, note down the name of the “Host name of the device“.
Minimize the PowerToys on the host machine.
Steps for other devices that you want to control
Now you have to enact these steps on the device that you want to control the devices.
Step 1 – On the other device, open MS Store and install the Microsoft PowerToys.
Step 2 – Go to the “Mouse without borders” from the left pane.
Step 3 – Later, click the “Open Settings” item to access that.
Step 4 – Next, just go to the Security Encryption tab, and click the “Connect” option.
Step 5 – Now, input the copied ‘Security key’ in the designated box. Do the same for the “Device name” as well.
Step 6 – Finally, click “Connect” to connect the device to the host computer.
This way, you can connect the host computer to your desired device. Follow the same steps to connect further systems and use the mouse there as well*.
Step 7 – If you want to control other devices you can arrange them as well. To do this, you have to be in Device Layout.
[Or, you can alter the default linear layout of the systems and opt for box layout, after disabling the “Devices in a single row” option. ]
Step 8 – You can arrange the device as you have the existing setups on your desk. If you can’t see a connection hit the “Refresh connection” button.
Step 9 – Now, you just have to scroll down to the Behavior section.
Step 10 – After this, toggle the “Share clipboard” and “Transfer file” options to “On” mode.
Exit the PowerToys window. Give the mouse without borders a try. You can now safely transfer the files from one system to another.
*NOTE – You can connect 4 systems to control at any given time. There is a limit on the amount of file size during the file transfer. The file size limit on the transfer is less than 100MB.


