Windows 11 has the feature to check and update the system automatically in the background. This is important to keep the system updated with new security fixes and features. At times it is required to pause the Windows 11 update for a while in order to finish some important projects and works. This article tells you how to pause the Updates for the desired time and also resume them back whenever required.
Pause Windows 11 Update
Step 1: Simultaneously press Win + I to open the Settings Page.
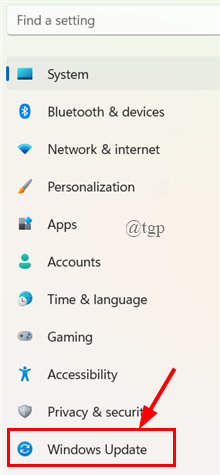
Step 2: Click on Windows Update present at the bottom on the left side menu.

Step 3: Next, on the Windows Update page, go to More Options, under Pause Updates, click Pause for one week.

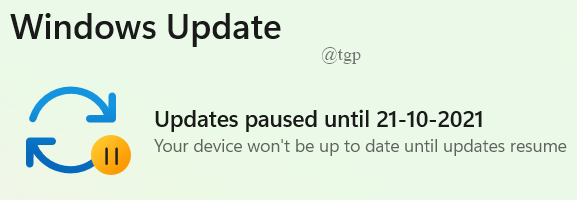
Step 4: After selecting it, you can see that the updates are paused for a week message as shown below.

Step 5: If you wish to pause the updates for more than a week, you will have options in the drop-down menu to pause the updates for up to 5 weeks time.

(or)
You can also extend the time as shown below.

Resume automatic Windows 11 Updates
Sometimes, you need to resume back your updates to keep track of the new features. In order to resume automatic windows 11 update,
Step 1: Open the Windows Update Window in a similar way as stated above. ( Win+I > Windows Update )
Step 2: In Update Window, click on the Resume Updates button.

Step 3: Windows Update will now check for new updates, and if you have any updates, it will ask you to download and install.

Sometimes, the updates will be downloaded and installed automatically and will ask you to Restart Now. Click on that button.

In this way, you can easily pause your Windows 11 Update and Resume back whenever needed. Go ahead and Pause your Updates. Good Luck!
Hope you find this article informative and helpful.
Thanks for Reading.