When you are using your system, it will automatically connect to any wireless network among the many active wireless networks. This happens when the system has the option to connect with more than one available wireless networks. In such a scenario, the system will select that wireless network which has the highest priority assigned. The wireless network which has been selected may not be the most optimum for you or you may not want your system to connect to the wireless network which has the default highest priority for reasons of privacy, security, slow connection etc. You can change this default priority yourself and not necessarily restrict to the default highest priority wireless network. This can be done by executing the relevant command in your system.
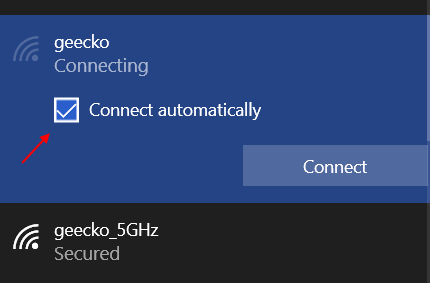
Please note that if you will check connect automatically option while connecting to a WiFi SSID , the priority will automatically set to 1.

The following steps will aid you to change the priority of wireless networks in your system:
How to change WiFi Network priority through CMD
Step 1: Type Command prompt or cmd in the Windows search bar. Right click on Command Prompt shown at the top of the search results. Then click on Run as administrator from the list.

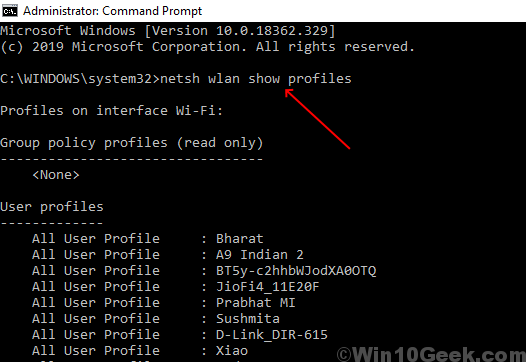
Step 2: Type the following command in the Command Prompt window:
netsh wlan show profiles
Press Enter key. You will now be able to see all the wireless network connections that are linked to your computer. Note down the name of the WiFi you want to prioritize.

Step 3: The connections will be shown in the order of precedence. If you want to change this order, you will need to write the following command in the command prompt window:
netsh wlan set profileorder name="your WiFi name" interface="Wi-Fi" priority=1
In the command given above, just replace your WiFi name with the name of the WiFi you noted down

If you have a long list of networks that you use regularly, you can also change the priority of all of them. For doing so, you will have to change the priority value in Step 3. Thus if you want to set a network to have the second best priority, you will need to put the priority value as 2.

By following the above steps, you can now tweak the priority of several wireless networks in Windows 10 according to your need and convenience.