ms-windows-store:purgecaches is an inbuilt ms store feature which purges windows store caches. Many users have reported “ms-windows-store:purgecaches app didn’t start” error on their computer. If you have also encountered this error, you can follow the steps given in this article to fix this error.
Fix 1 – Install the media Pack from Microsoft
1. Press Windows Key + R together open run.
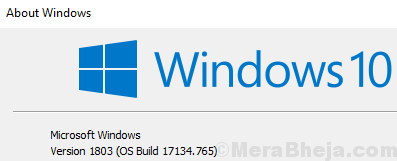
2. Write winver in it and click OK.
3. Note down your Windows version.

4. Go to this link from Microsoft
5. Check which media pack is suitable for your PC from here
6. Now, install the required media pack and restart your PC.
Fix 2 – Try the Troubleshooter
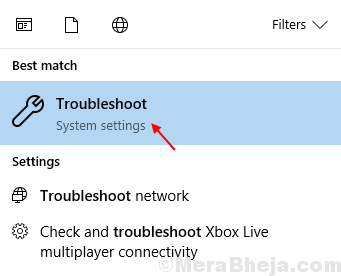
1. Search Troubleshoot in Windows 10 Search and click on the search result.

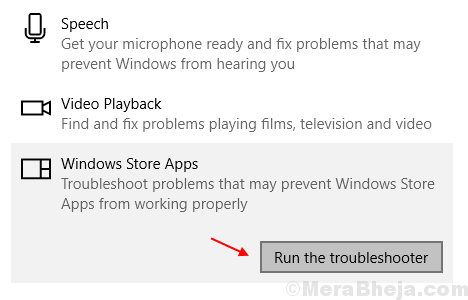
2. Scroll down in the left side, Locate Windows store apps, click on it to expand it.
3. Click on Run the troubleshooter.

Fix 3 – Using powershell App
1. Press CTRL + Shift + Esc keys together from you keyboard to open task manager.
2. Choose File > Run New Task from the top Tab.

3. Write powershell in the task box and check the box saying create this task with administrative privileges.

4. copy and paste the code given below in the powershell window.
$manifest = (Get-AppxPackage Microsoft.WindowsStore).InstallLocation + '\AppxManifest.xml' ; Add-AppxPackage -DisableDevelopmentMode -Register $manifest
5. Hit enter key to execute the code.
6. Restart your computer.