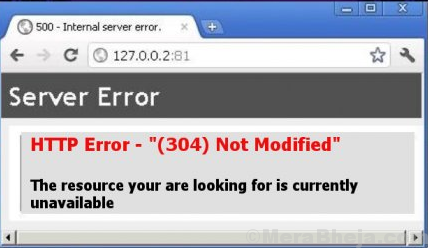
The HTTP 304 code means a website has been redirected. However, if redirection happened, then upon trying to open the intended URL, the user would redirected to another URL.
In many cases, users get the following error:
HTTP Error 304 Not modified error
The full statement of the error being:
This status code is returned if the client has already downloaded resources since the last visit and is displayed to notify the client browser that the requested resources is already stored in the browser cache which hasn’t been modified.
To isolate whether the issue is with the URL or the system, try opening the URL on a different system. If it works fine on a different system, then the issue could either be with the OS of the primary system or a browser.
Try the following steps one by one:
1] Delete browsing data
2] Remove extensions from the browsers
3] Flush DNS and reset TCP/IP
4] Use Google’s public DNS address
Solution 1] Delete browsing data
Please note that upon deleting the browsing data, you might lose certain information on the browsers.
Here’s the procedure to delete browsing data from Firefox.
Here’s the procedure to delete browsing data from Google Chrome.
Solution 2] Remove extensions from the browsers
Extensions attached to a browser could cause this issue. This is especially true if the URL works fine with other browsers.
Here’s the procedure to remove extensions from Firefox.
Here’s the procedure to remove extensions from Google Chrome.
Solution 3] Flush DNS and reset TCP/IP
In case the issue is not with the browsers (a case which has been isolated in the above explained solutions), try flushing the DNS and resetting the TCP/IP. The procedure is as follows:
1] Search for Command Prompt in the Windows search bar and right-click on the option. Select Run as administrator.
2] Type the following commands one by one and press Enter after each command:
ipconfig /flushdns
netsh int ip reset resettcpip.txt
3] Restart the system once the commands have executed.
Solution 4] Use Google’s public DNS address
One of the causes of the error is a messed up DNS address. Here’s how to change the same.
1] Press Win + R to open the Run window and type the command ncpa.cpl. Press Enter to open the Network Connections window.
2] Right-click on your Network connection and select Properties.
3] Double-click on the option Internet Protocol Version 4.
4] Shift the radio button for DNS options to Use the following DNS server addresses.
5] Use the following values for the preferred and alternate DNS server address:
Preferred: 8.8.8.8
6] Click on OK to save the settings and restart the system.
Hope it helps!


