Most of people even knowing that unmanaged vps services like linode and Digitalocean are the best choices today in terms of performance and price, just dont dare to shift to these beautiful services afraid of the fact that they will not get a control panel and they have to start everything from scratch. Its a notion that only geeks with prior experience to linux server administration can shift to these services.
I must tell you, its not like that. I was also afraid initially but after googling through various tutorials available over internet, i found it very easy. Its also ultra cheap, as you can get a VPS at Digitalocean for as low as $5 (512 MB RAM). The best thing about digitalocean is that you dont have to worry about your credit card getting attached there for availing their hosting service. You can pay in advance via PayPal, a considerable sum like $50 and can remain peaceful for straight 10 months.
Now here is a guide for dummies for setting things up on Digitalocean. This is a Guide about installing LAMP ( Linux, Apache , MySQL and PHP ). Once it gets installed you can either shift your wordpress blog or host your PHP or HTML website here.
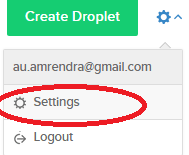
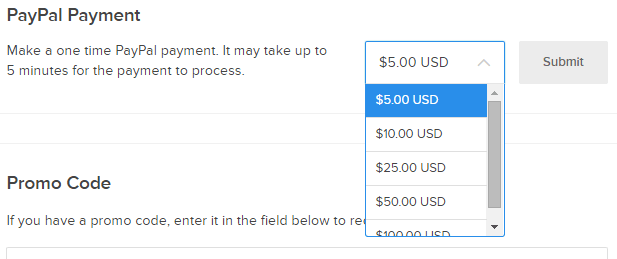
First go to Digitalocean and create an account over there. In the top right click on the settings icon and click on the settings. Scroll down the page and enter an amount to be submitted via PayPal and submit. You will be redirected for PapPal payments. Alternatively you can also choose to go for a credit card monthly payment plan.

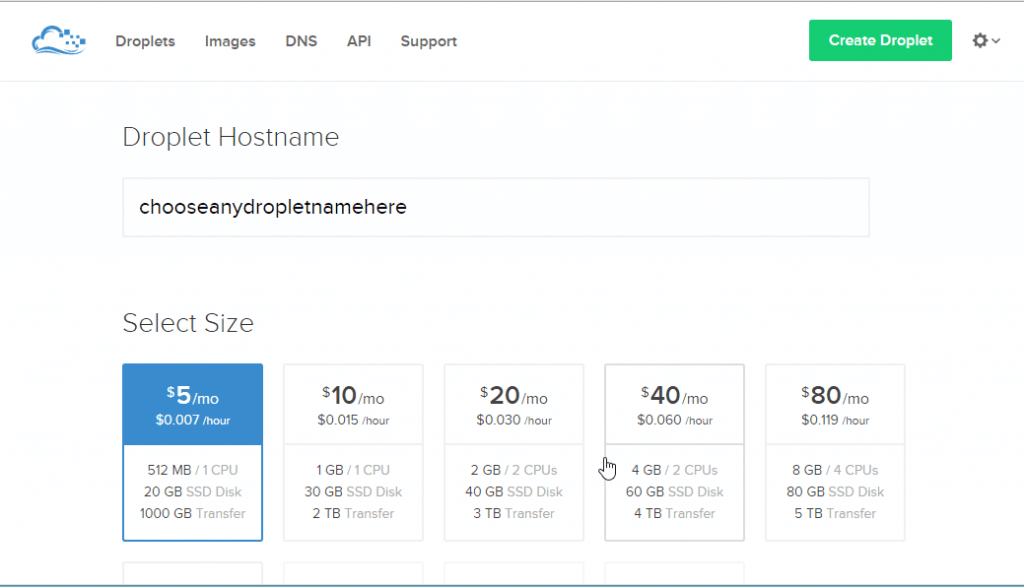
- Now Click on Create a Droplet and Create a Droplet.
- Choose Droplet Hostname. It can be anything which you wish to be.
- Select size of the droplet. For small traffic websites , i.e. page hits below 1000 per day, lowest plan is OK. You can upgrade anytime, so dont worry.

Selecting Region – Here you have to select that particular region of hosting server, which is closest to your visitors. For example if you hvae got most of the vistors from US, you can choose the server to be located at NewYork.
Selecting Image – Just choose the distribution which you wish to install. I am selecting here the most famous one for setting up LAMP server, i.e. Centos 6.5*64.

Finally Click on create a Droplet.

Now Download PUTTY.

Now click on Putty.exe on your computer. Putty window will pop up. Enter the ip of your droplet from Digitalocean and click on open.

Once it Opens. It will ask you to login as: . Just enter root there.
Now it will ask for password. Go to email you provided while registering at Digitalocean. Enter the password you got in your email inbox. Note that when you enter the password, it doesn’t show up. Don’t worry, its a security measure by linux. Just go ahead. It will then ask for a new password, but before that you will have to enter old password again.

Now our Goal here is to install LAMP. Linux is already installed (centos). Just follow the command lines given below to achieve that. Just copy the command and do a right click where the green cursor is blinking. The command will get pasted there. Press enter , and your command will get executed.
First of all Install Apache
sudo yum install httpd
Once it installs, you can start apache running on your VPS:
sudo service httpd start
Install Mysql
sudo yum install mysql-server
sudo service mysqld start
Mysql Secure Installation
sudo /usr/bin/mysql_secure_installation
In the mysql secure installation …
Enter current password for root (enter for none):OK, successfully created new password, moving on…
You have to give postive responses for the confirmation asked like given below.
Remove anonymous users? [Y/n] y ... Success!
Disallow root login remotely? [Y/n] y ... Success!
Remove test database and access to it? [Y/n] y - Dropping test database... ... Success! -
Removing privileges on test database... ... Success!
Reload privilege tables now? [Y/n] y ... Success! Cleaning up...
Now Install PHP
sudo yum install php php-mysql
Finally Restart Apache
sudo service httpd restart
Now Install PHPmyAdmin
sudo yum install wget


cd ~
wget http://download.fedoraproject.org/pub/epel/6/x86_64/epel-release-6-8.noarch.rpm
sudo rpm -ivh epel-release*sudo yum install phpmyadmin
Now when you will put your ip in address bar, you will see a default test page of apache. But even after installing phpamyadmin you can not access phpmyadmin from your pc. Before that you will have to allow it in phpamyadmin.conf.
For changing phpmyadmin.conf we will use nano as editor.
sudo yum install nanosudo nano /etc/httpd/conf.d/phpMyAdmin.confInsert this line where you find <Directory /usr/share/phpMyAdmin/>
Allow from all

Again Restart Apache
sudo service httpd restart
You can access your phpamyadmin as http://Your IP or Domain/phpmyadmin/
All done you have successfully installed LAMP on Digitalocean.
Now if you are thinking to connect to your server via filezilla, you can use winscp for no headache otherwise you have to install ftp on server. Winscp does not require any tweaking and is pretty secure as compared to filezilla.

- Now click on dots right to the folder icon as shown above.
- Now go to var
- Go to www
- Go to html
- You are inside of the folder which is called root.
(Note: this is the folder which is called https/ in mediatemple and public_html/ in hostgaotor etc.)
Upload all your files in the root which you have downloaded from earlier host.
For importing mysql, you can uise phpmayadmin if the db is small , less than 2mb.
For large sized db use the steps below.
Download the sql_backup_db.sql from your previous host.
Now upload it in the roor directory.
Open putty, Log in.
Now enter the command below to go into mysql console.
mysql -u root -p
Enter your password to enter the mysql console.
Now ..
CREATE DATABASE new_database;
Now enter QUIT to exit mysql
Now enter the command below to import mysql.
mysql -u root -p new_database< /var/www/html/sql_backup_db.sqlIt will ask for mysql password and after pressing enter your mysql db will start importing blazingly fast
Setting up Domain
Now click on DNS in your Digitalocean control panel.
Now put your IP, your domain name and host name there and click on create domain.


Now click on add a record and insert a CNAME record.
Now go to your domain registrar and enter three nameservers there.
ns1.digitalocean.com
ns2.digitalocean.com
ns3.digitalocean.com
