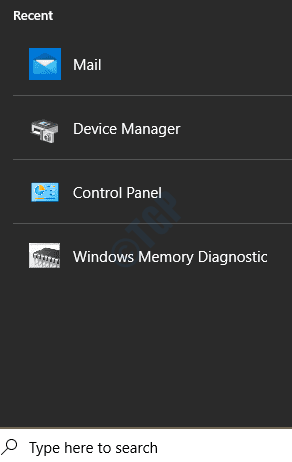
Whenever a search is made through the taskbar, windows remembers this information to provide users with better user experience. However, not all users are comfortable with this storing of information and some want to clear off the windows device search history so that their taskbar search is always empty. If you are one of those users, you are in the right place. Please read on to learn how to clear off your windows 10 device search history and to turn off this feature, so that future searches are not logged, in some very simple steps.
How to Clear Windows 10 Device Search History
1. Launch the windows Settings app. You can do so by pressing the WIN and I keys together. Once launched, click on the Search tab.
2. In the left window pane, make sure you are on the Permissions & History tab and in the right window pane, under History section, click on the button that says Clear my device history.
That’s it. Try clicking on the taskbar search icon now. Your search history should now be cleared.
How to Turn Off the Windows 10 Device Search History Feature
Now that you have cleared off all your windows device search history, you might want to turn this feature off so that your future windows searches are not stored. There are 2 ways in which you can do this. One is through Settings app and the other is through windows registry editor.
Method 1: Turn Off Windows Device History Feature Through Settings App
1. Open windows Settings App by pressing WIN and I keys at once. Click on the Search tab next.
2. In the left window pane, click on the option Permissions & History. In the right window pane, locate the section History. As next, turn off the toggle button corresponding to the option My device history.
Method 2: Turn Off Windows Device History Feature Through Windows Registry Editor
A corrupted registry memory can cause serious system stability issues. Since this method involves modifying your windows registry settings, it is highly recommended that you take a backup of your windows registry settings before you proceed.
1. Launch Run dialog box by pressing WIN and R keys together. Now, type in regedit and hit the Enter key.
2. As next, navigate to the following path:
Computer\HKEY_CURRENT_USER\Software\Microsoft\Windows\CurrentVersion\SearchSettings
Verify whether you are at the right path after you navigate. Now, right click on the SearchSettings folder and then click on New and then on DWORD (32-bit) Value.
3. The next step is to rename the newly created DWORD value to IsDeviceSearchHistoryEnabled. You can press the F2 key to rename.
4. Now, to edit the IsDeviceSearchHistoryEnabled DWORD value, double click on it. Once the edit window opens, set Value data to 0 and hit the OK button at the bottom.
That’s it. Windows will now stop logging your device search history locally. Hope you found the article useful.


